
Updating CocoaPods: A step-by-step guide
Learn how to install, update, and use CocoaPods to manage iOS and...
Learn how to implement GET and POST API calls in iOS using Alamofire, then validate real app behavior faster with Tricentis Testim Mobile automation today.

Most mobile apps require functionalities to do API calls. They need the ability to hit an API endpoint to get the data and display it. Similarly, they need to hit API endpoints to post data, which is further stored in the database.
Separately, editing data requires a PUT call, which is used when we edit a post. Also, we should be able to delete a post.
The GET, POST, PUT, and DELETE APIs can be easily implemented with the help of a third-party solution in iOS apps. This package does API calls and is known as Alamofire.
It’s also the most popular package to do API calls in the iOS app.
Alamofire is equivalent to Axios for web apps, which is used in React to do API calls
Alamofire is a popular API call library for iOS apps. It’s completely open-source and free to use. But it’s a third-party tool, so you need to install it.
Alamofire is equivalent to Axios for web apps, which is used in React to do API calls. Although Apple has a default library called URLSession to do API calls, the syntax is very complex.
To solve this issue, Joseph Gentle created Alamofire in 2012 for his use, and he released it as an open-source project in 2014. It has grown since then, with an active community maintaining its development.
However, the question is How would using Alamofire benefit me in Swift?
And the answer is simple: Alamofire is beneficial due to its easy syntax and active development community. The tool is so popular that it’s used in the iOS app of Facebook, Twitter, and other top companies.
To get started, let’s first create a new project by opening XCode. After that click on New > Project.
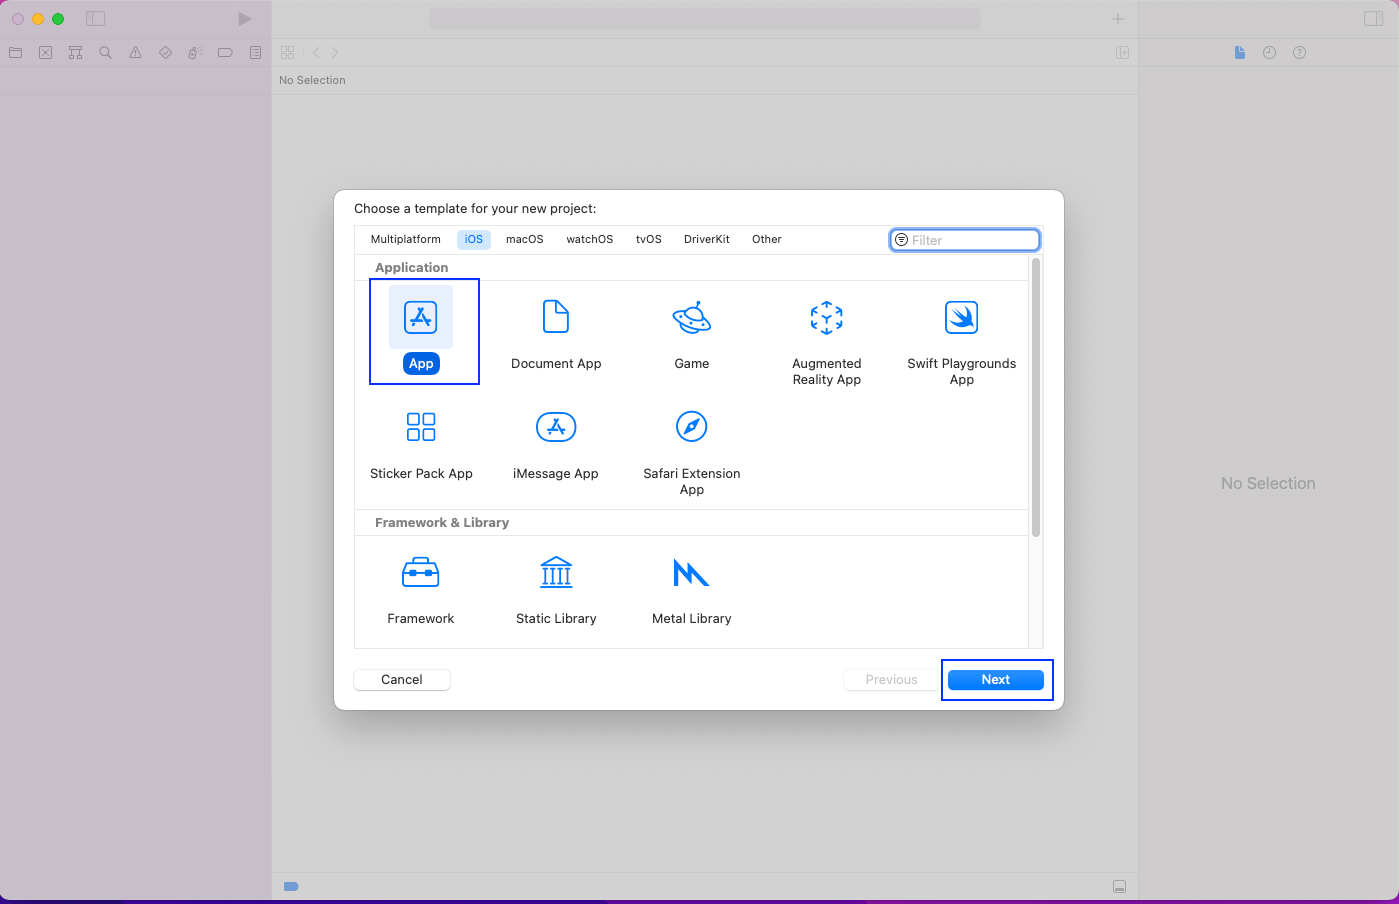
In the pop-up, click on App and then the Next button.
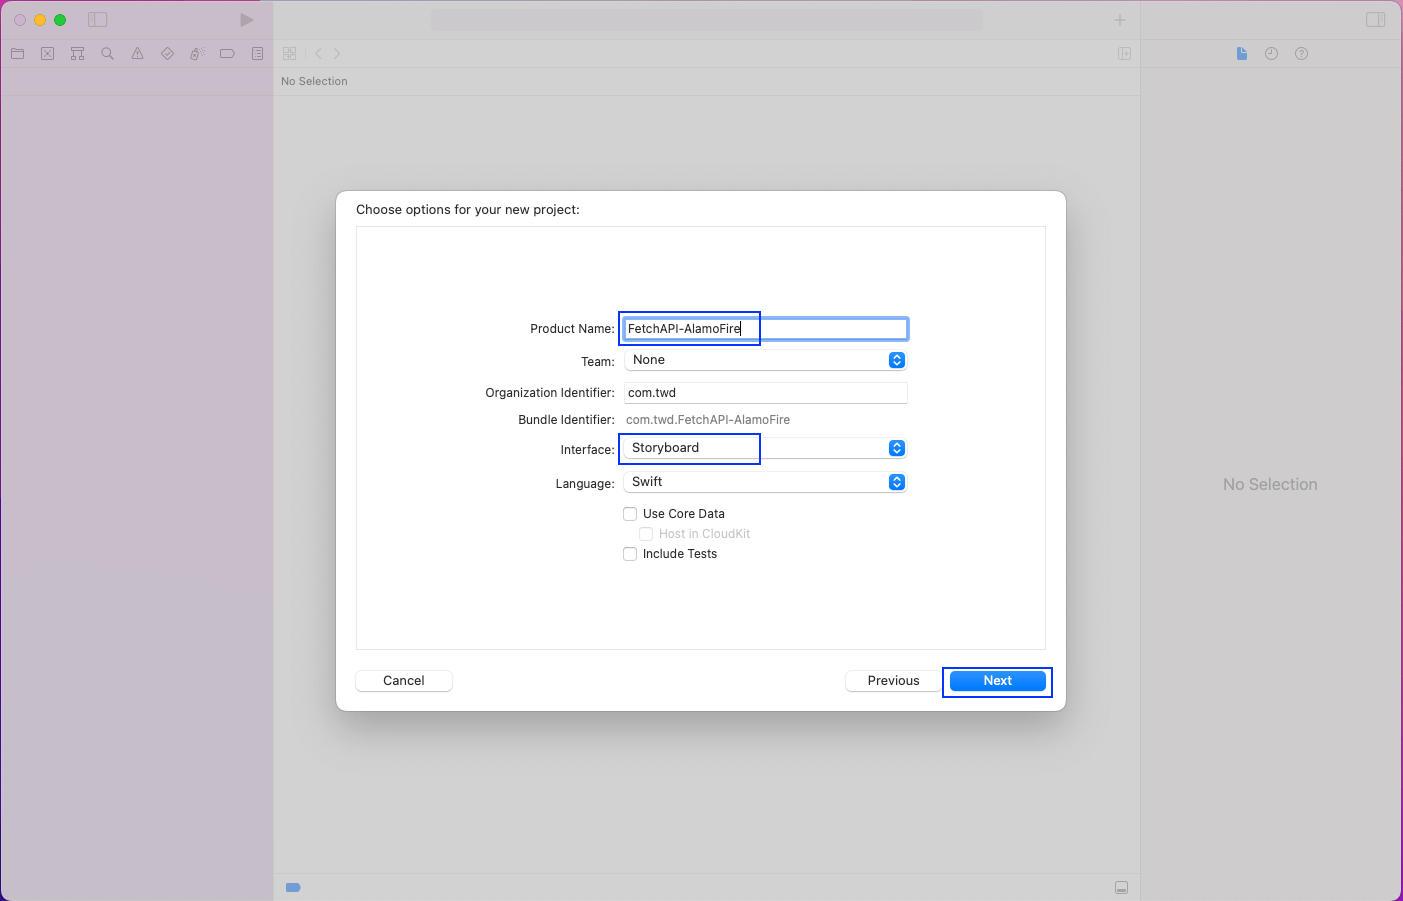
In the new pop-up, give any product name. The interface should be Storyboard because we’re going to use Storyboard in our app.
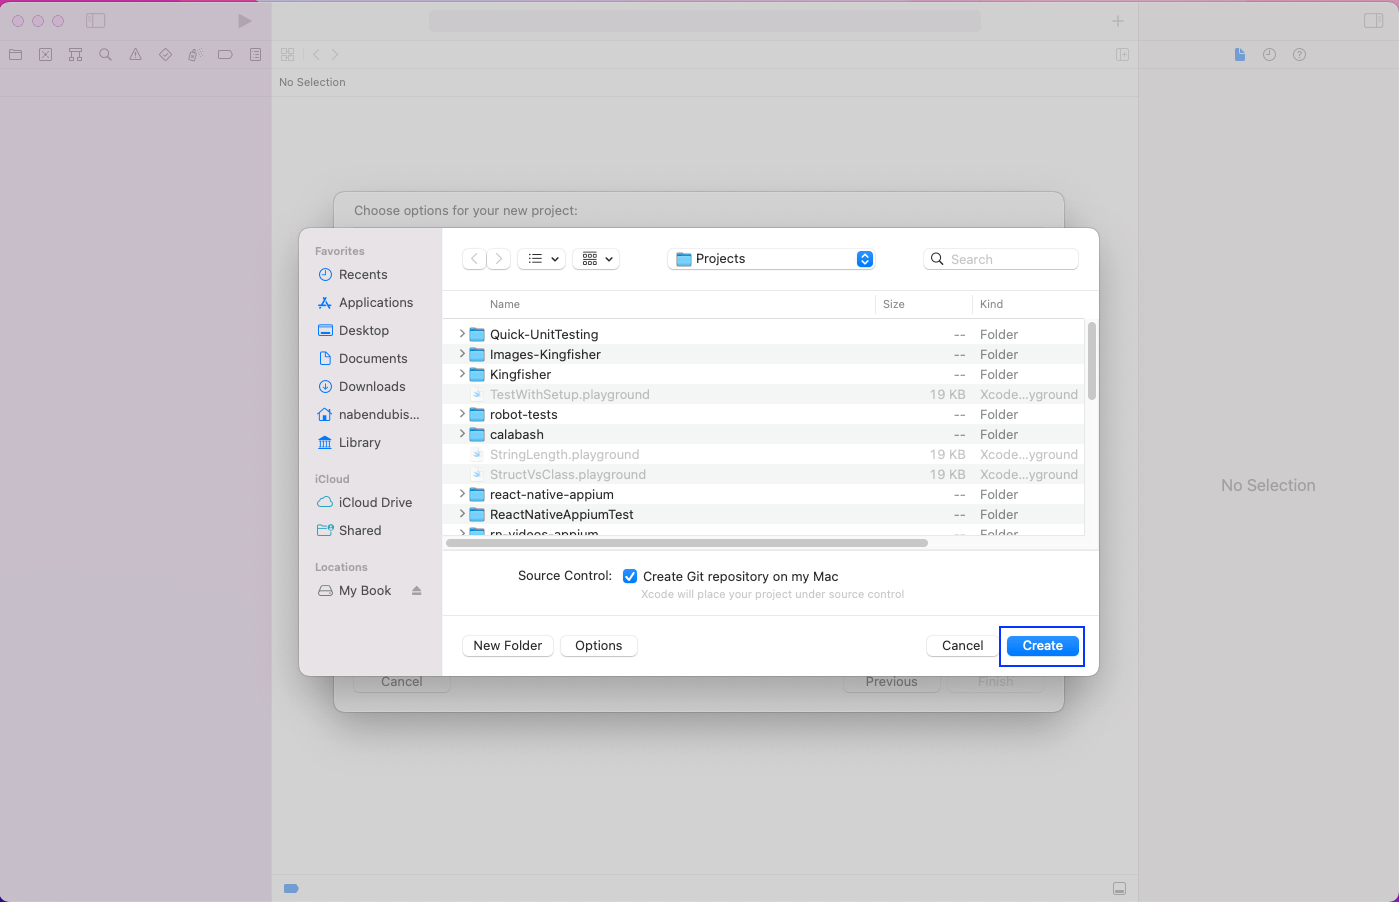
In the next pop-up, simply click on the Create button after choosing a suitable folder.
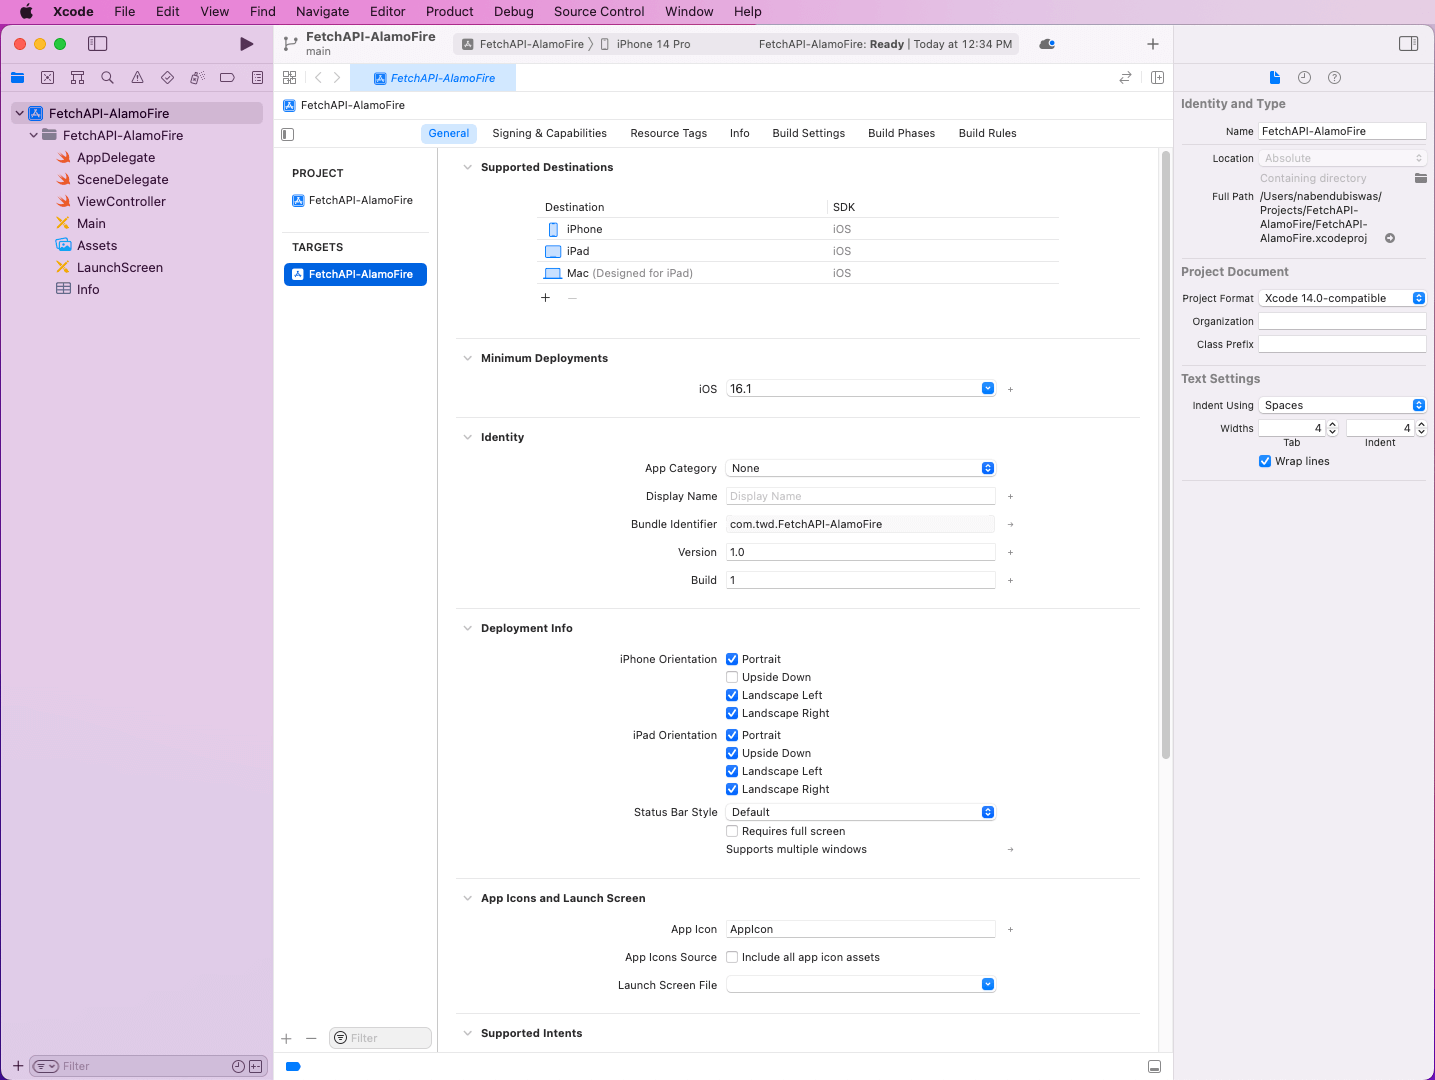
Our project will open in XCode and will look like this:
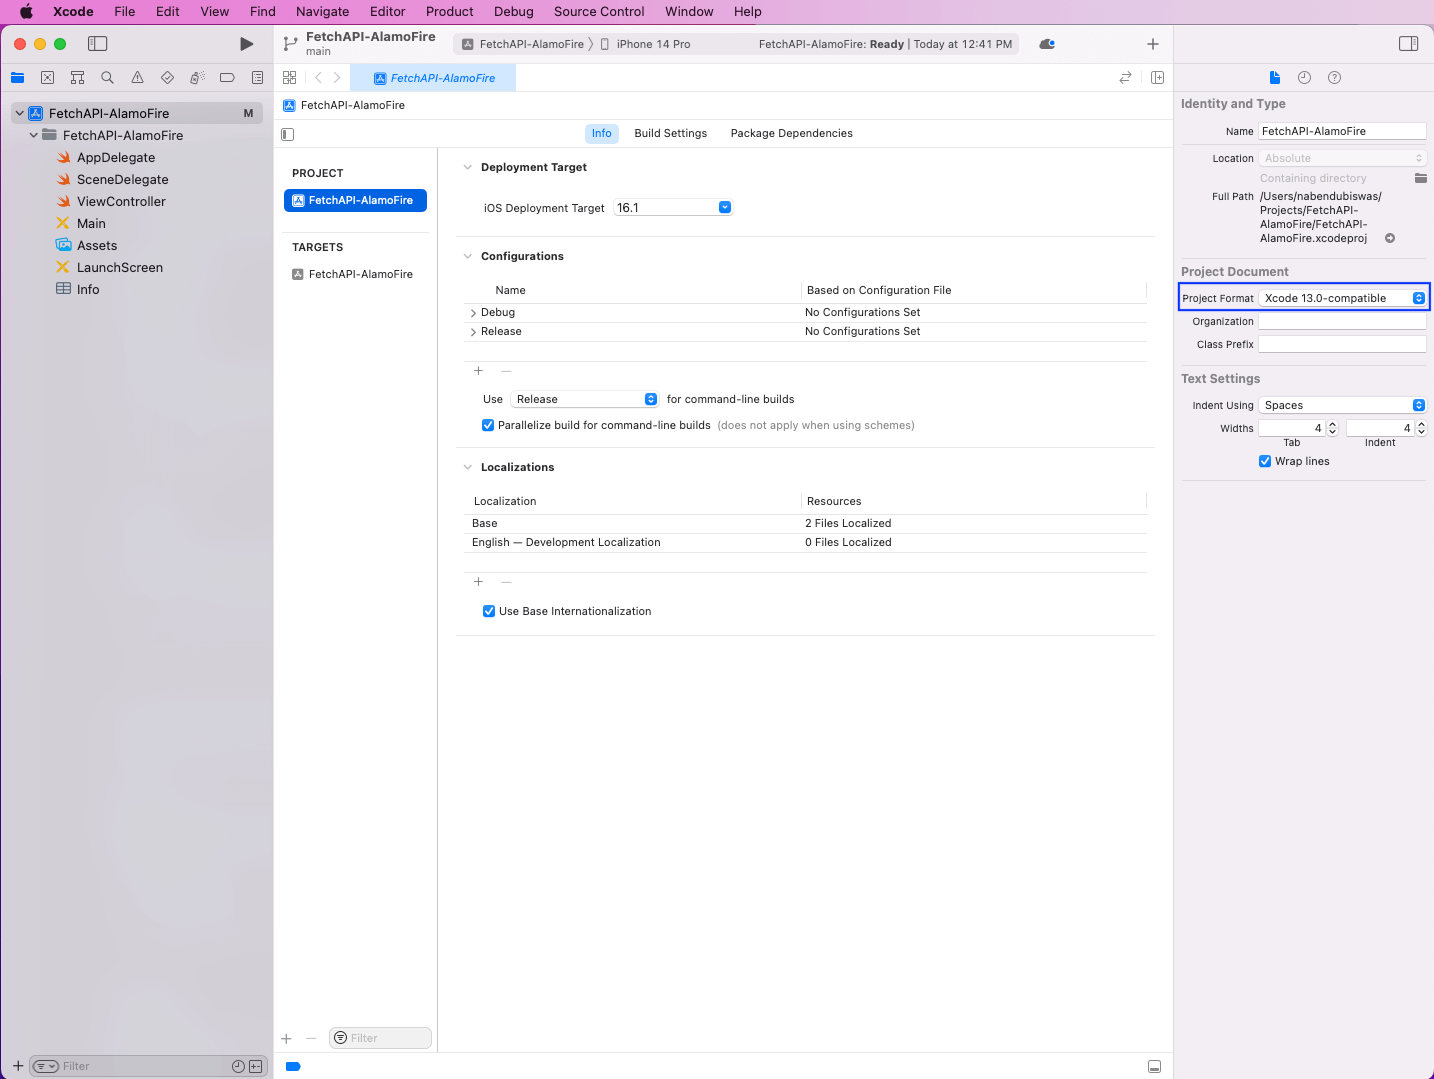
Alamofire is not a built-in library in XCode, so we need to install it. The best way to install it is through Cocopods. However, the latest version of XCode has some issues, so change the project format to Xcode 13.0-compatible.
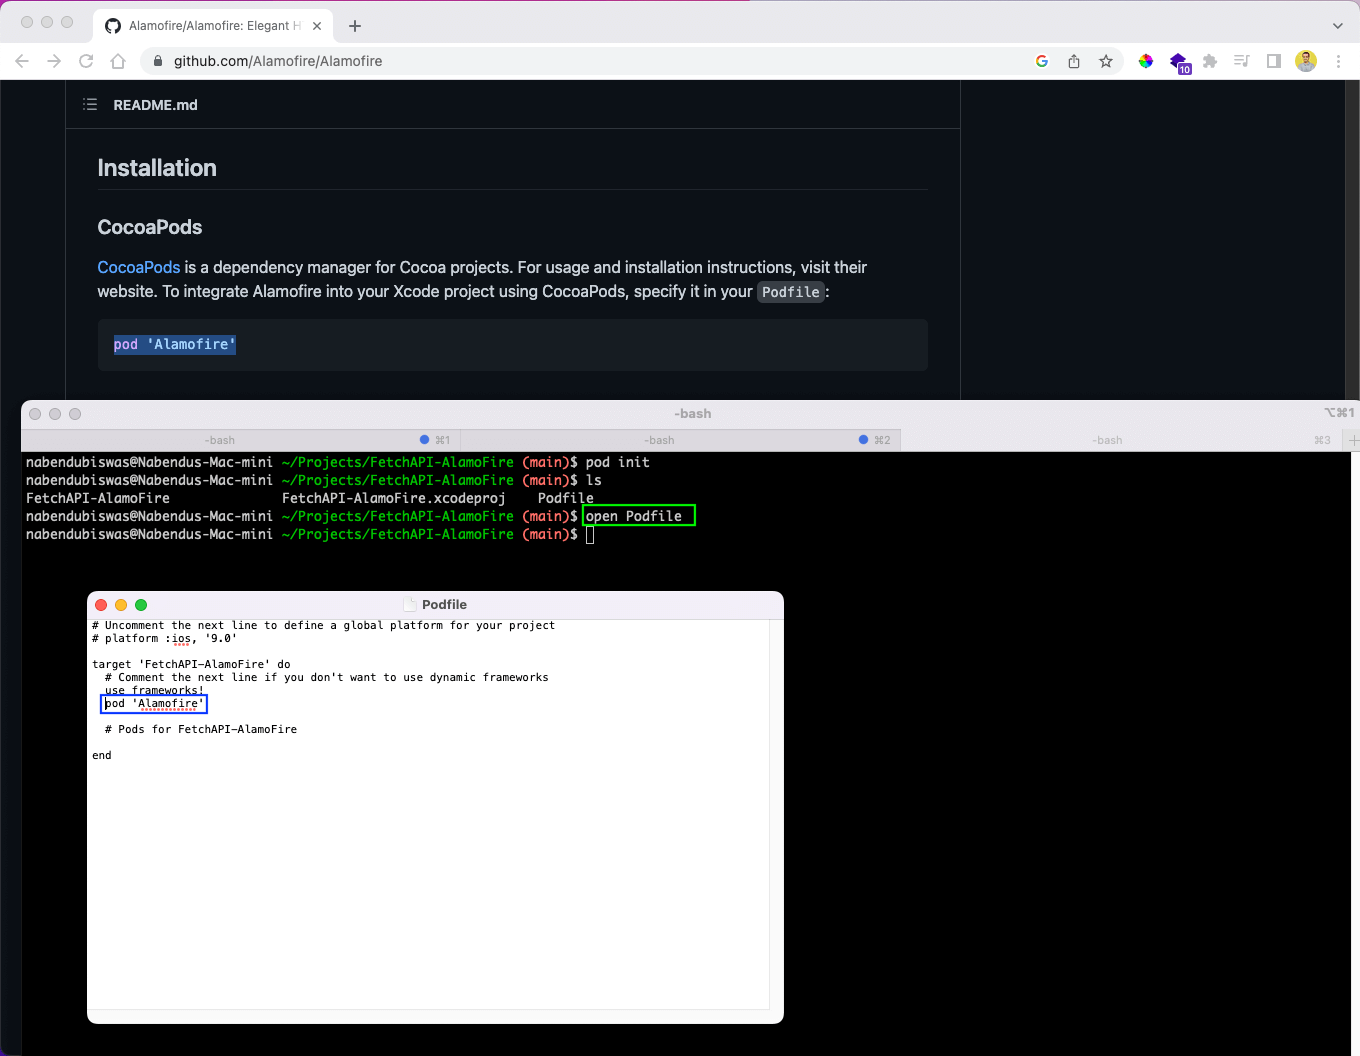
From the project directory, we’ll run the pod init command. This will create a Podfile, which can be seen in the terminal through the ls command.

Now, from the terminal, give the command open Podfile to open it in the text editor. Here, add the line pod ‘Alamofire’ with the correct spaces. After that, save the file and close it.
We’ll now run the pod install command from the terminal. This command will install Alamofire in our project. It’ll also create a new FetchAPI-Alamofire.xcworkspace file with a white background.
To use the updated project with Alamofire installed, open this new white background file.

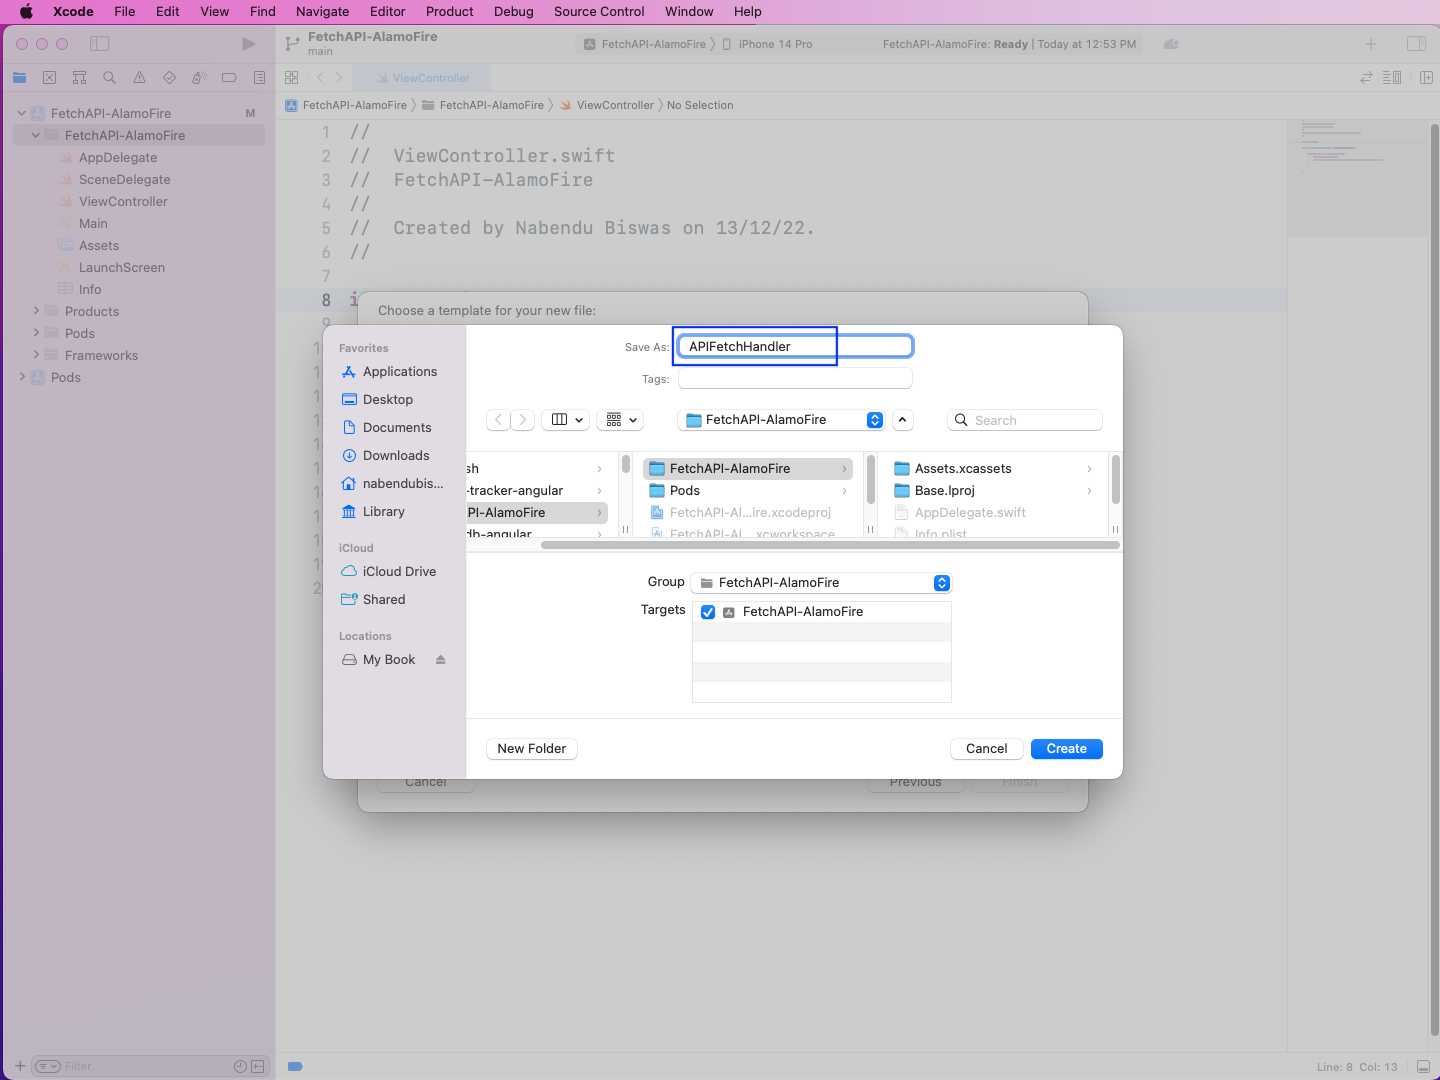
First, let’s learn to use the GET method to get data from an API endpoint. To do this, create a new Swift file in the root folder from XCode.
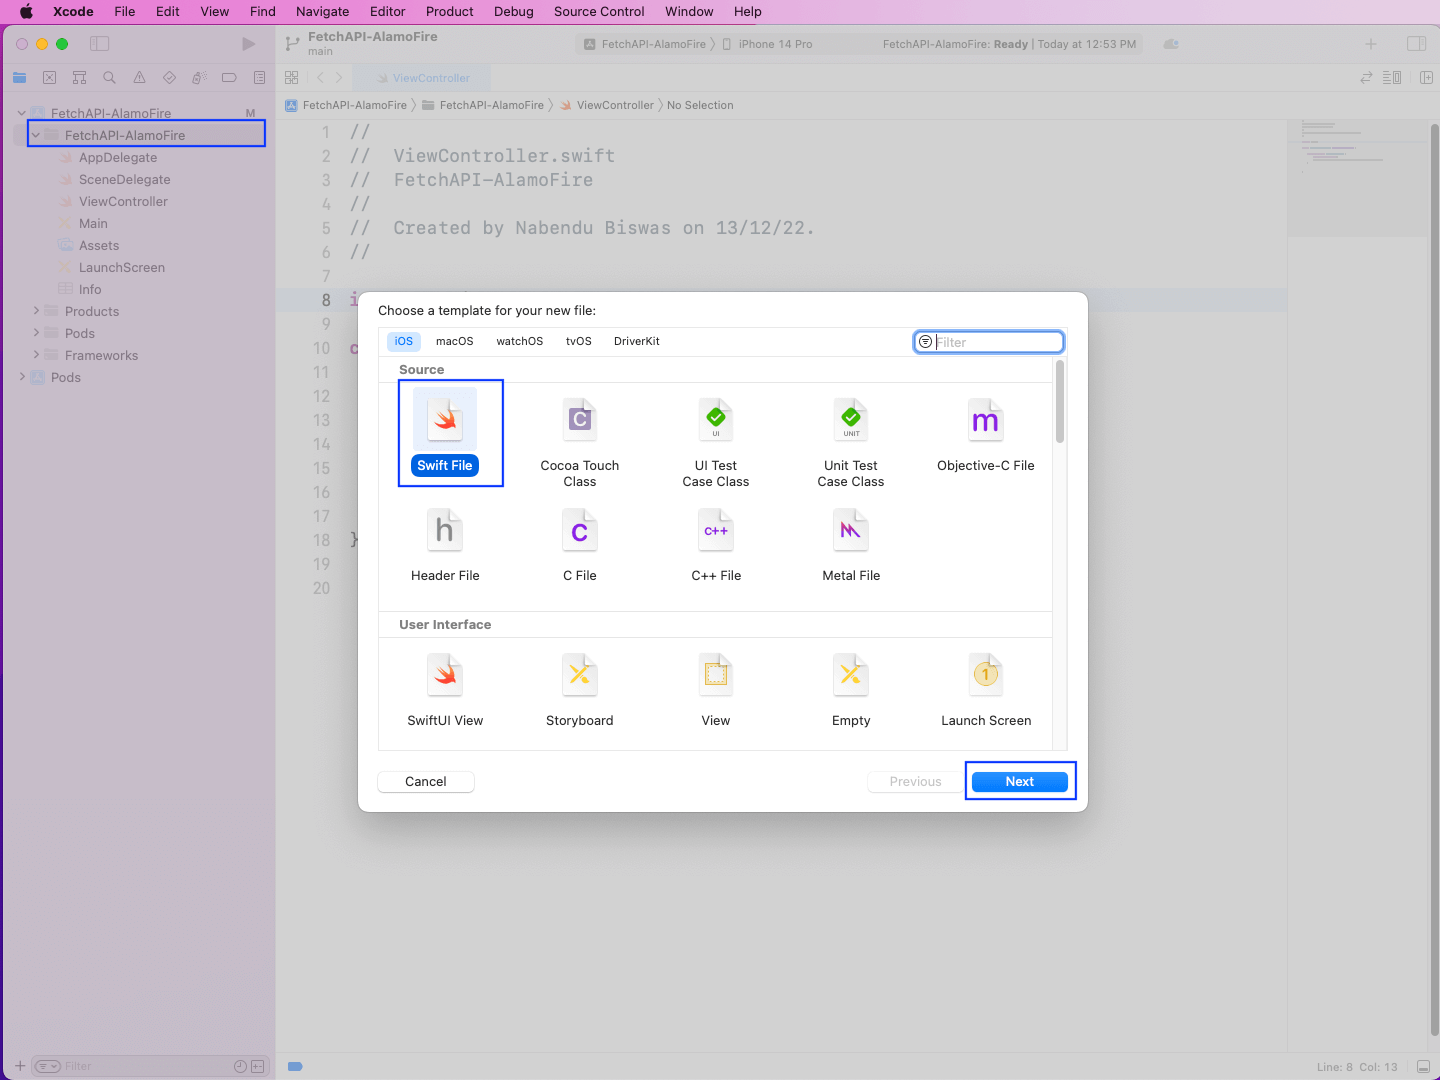
In the next pop-up, we’ll give the new file a name: APIFetchHandler.
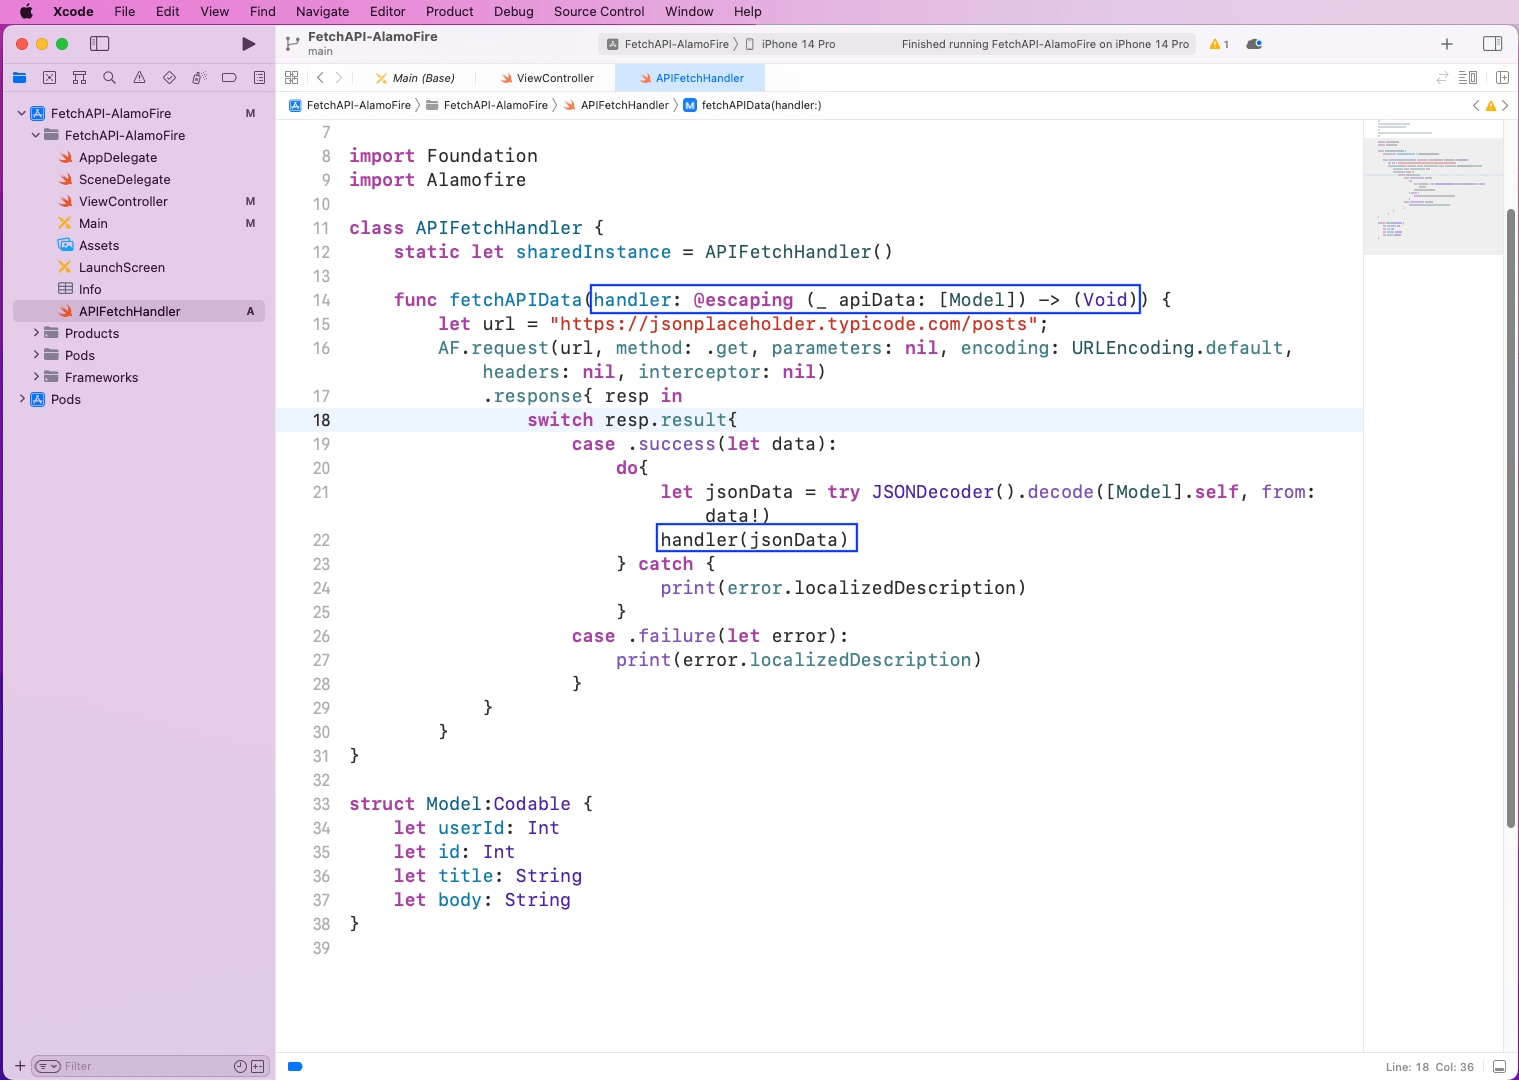
In the file APIFetchHandler, we’ll first import Alamofire. After that, inside a class, we’ll create its static instance.
Next, we have a fetchAPIData() function for which we’re using the AF.request() method to do an API call to the famous JSON placeholder endpoint.
If the API request is a success, we’ll take the data and use JSONDecoder() to convert it into JSON. Also, notice that we’re using a model called Codable, which contains the exact fields from the JSON placeholder endpoint.
import Foundation
import Alamofire

class APIFetchHandler {
    static let sharedInstance = APIFetchHandler()
   func fetchAPIData() {
      let url = "https://jsonplaceholder.typicode.com/posts";
      AF.request(url, method: .get, parameters: nil, encoding: URLEncoding.default, headers: nil, interceptor: nil)
        .response{ resp in
            switch resp.result{
              case .success(let data):
                do{
                  let jsonData = try JSONDecoder().decode([Model].self, from: data!)
                  print(jsonData)
               } catch {
                  print(error.localizedDescription)
               }
             case .failure(let error):
               print(error.localizedDescription)
             }
        }
   }
}

struct Model:Codable {
   let userId: Int
   let id: Int
   let title: String
   let body: String
}
Now, in the ViewController file, call the fetchAPIData() function:
APIFetchHandler.sharedInstance.fetchAPIData()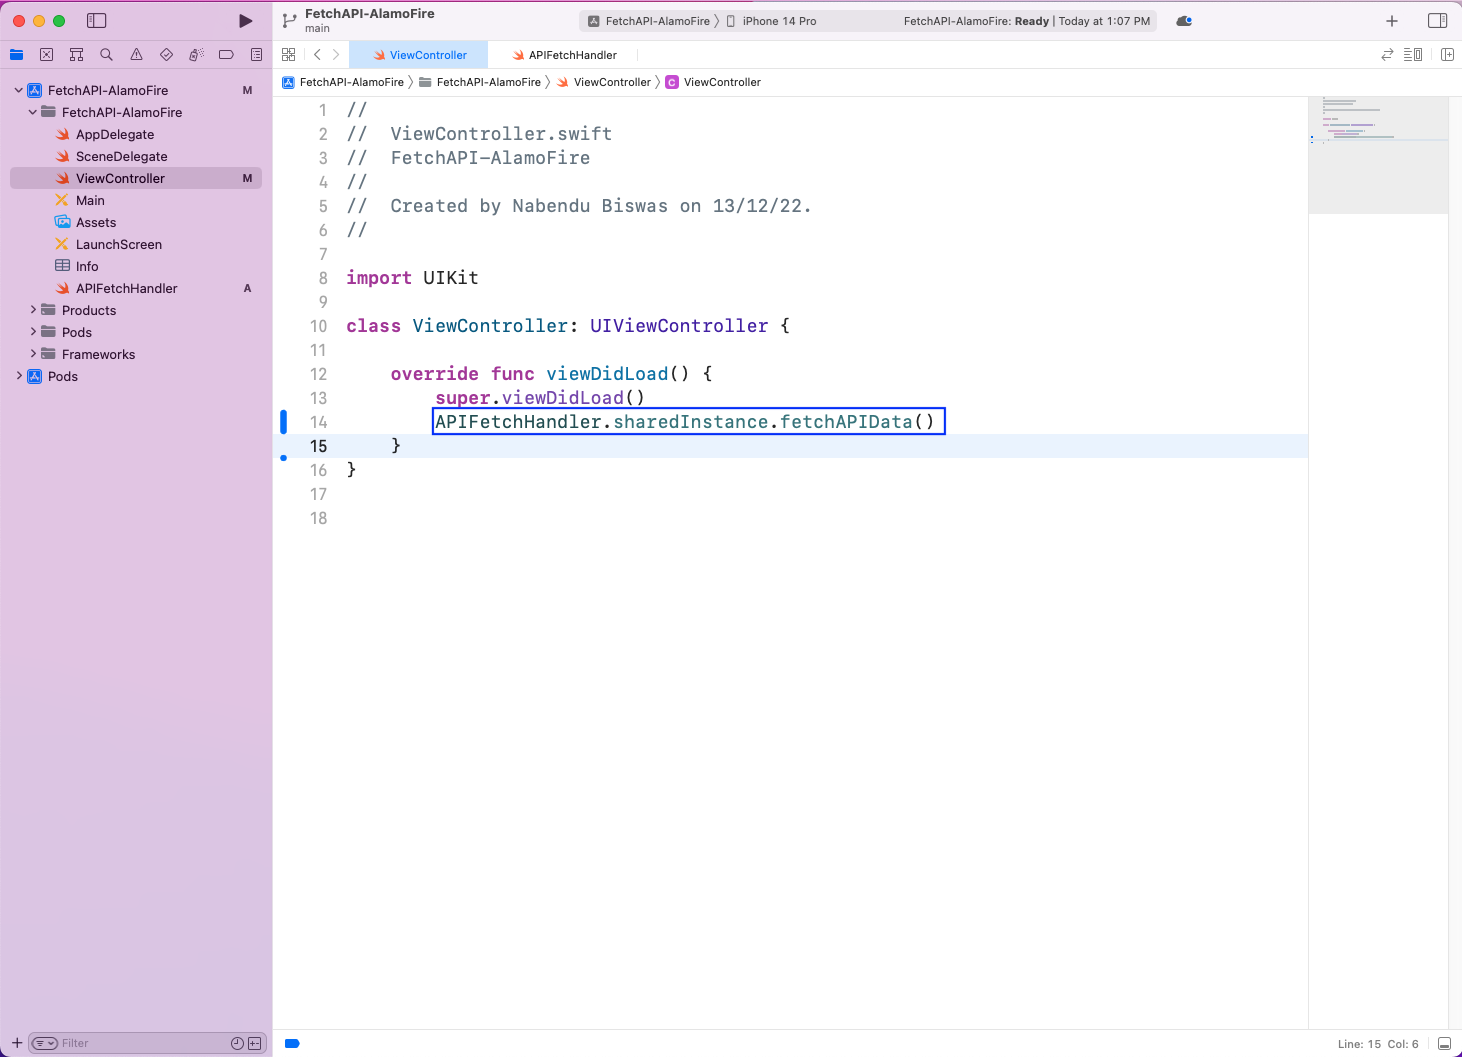
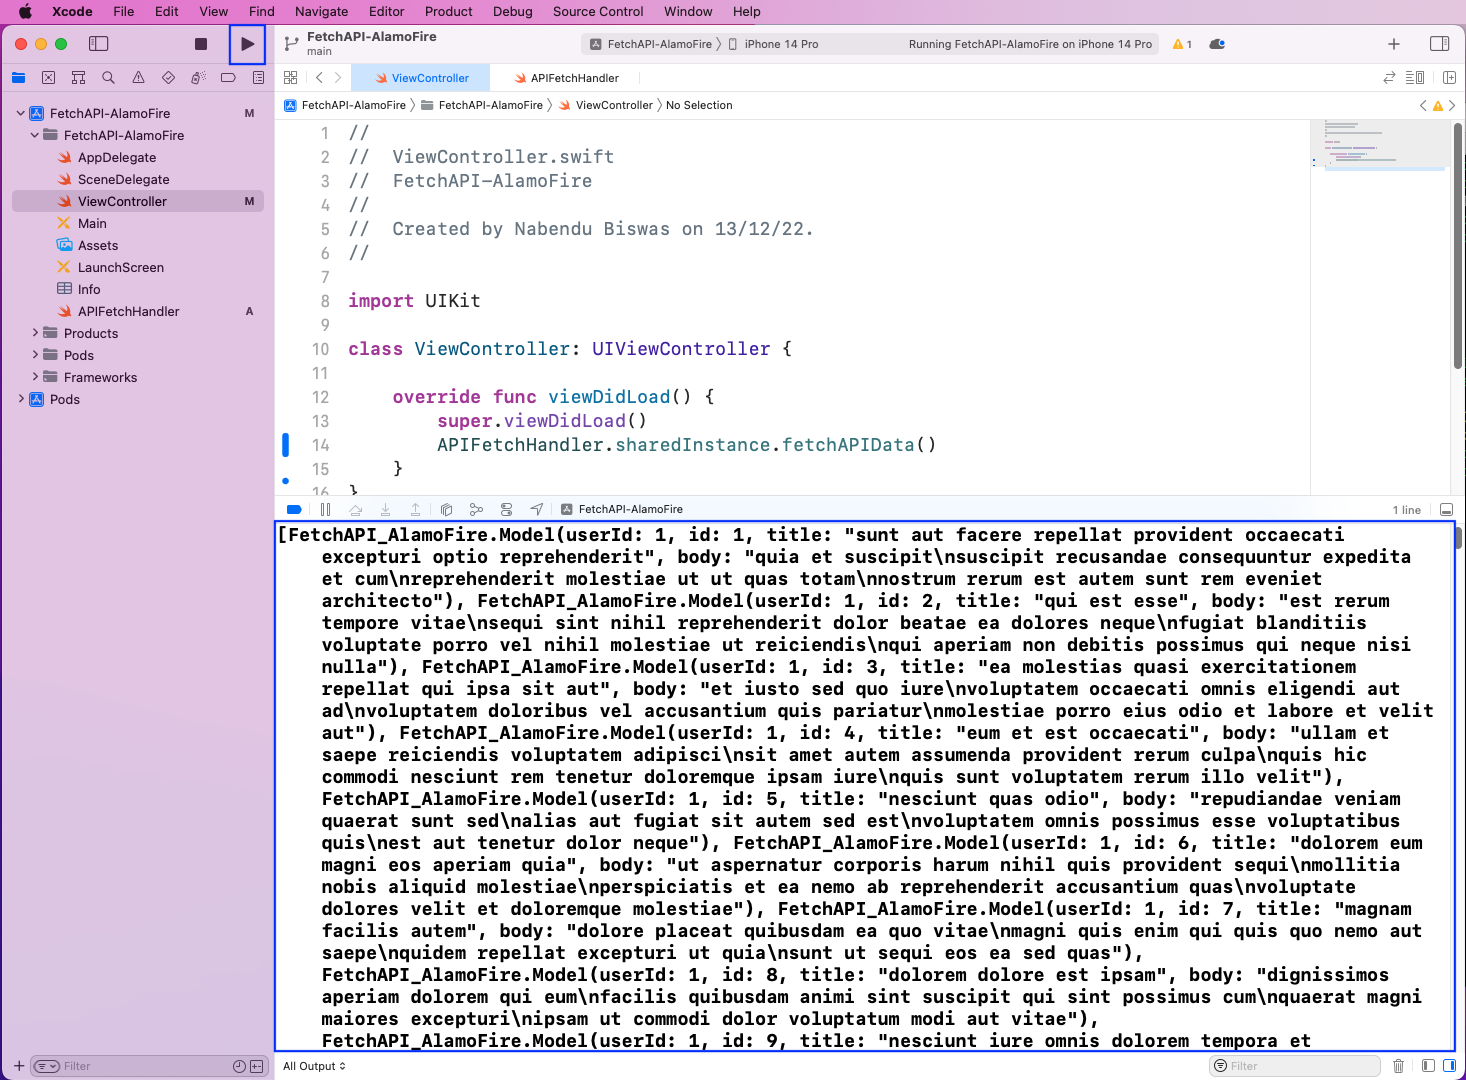
Then, upon running our app, we’ll get the data from the API endpoint printed in the console.
Now, let’s create a layout to show the data that we got from the endpoint in the previous section. To do so, open the Main file, which shows an iPhone image. Here, click on the + sign in the upper-right corner.
Then, in the pop-up, click on Table View and drag it to the iPhone image:
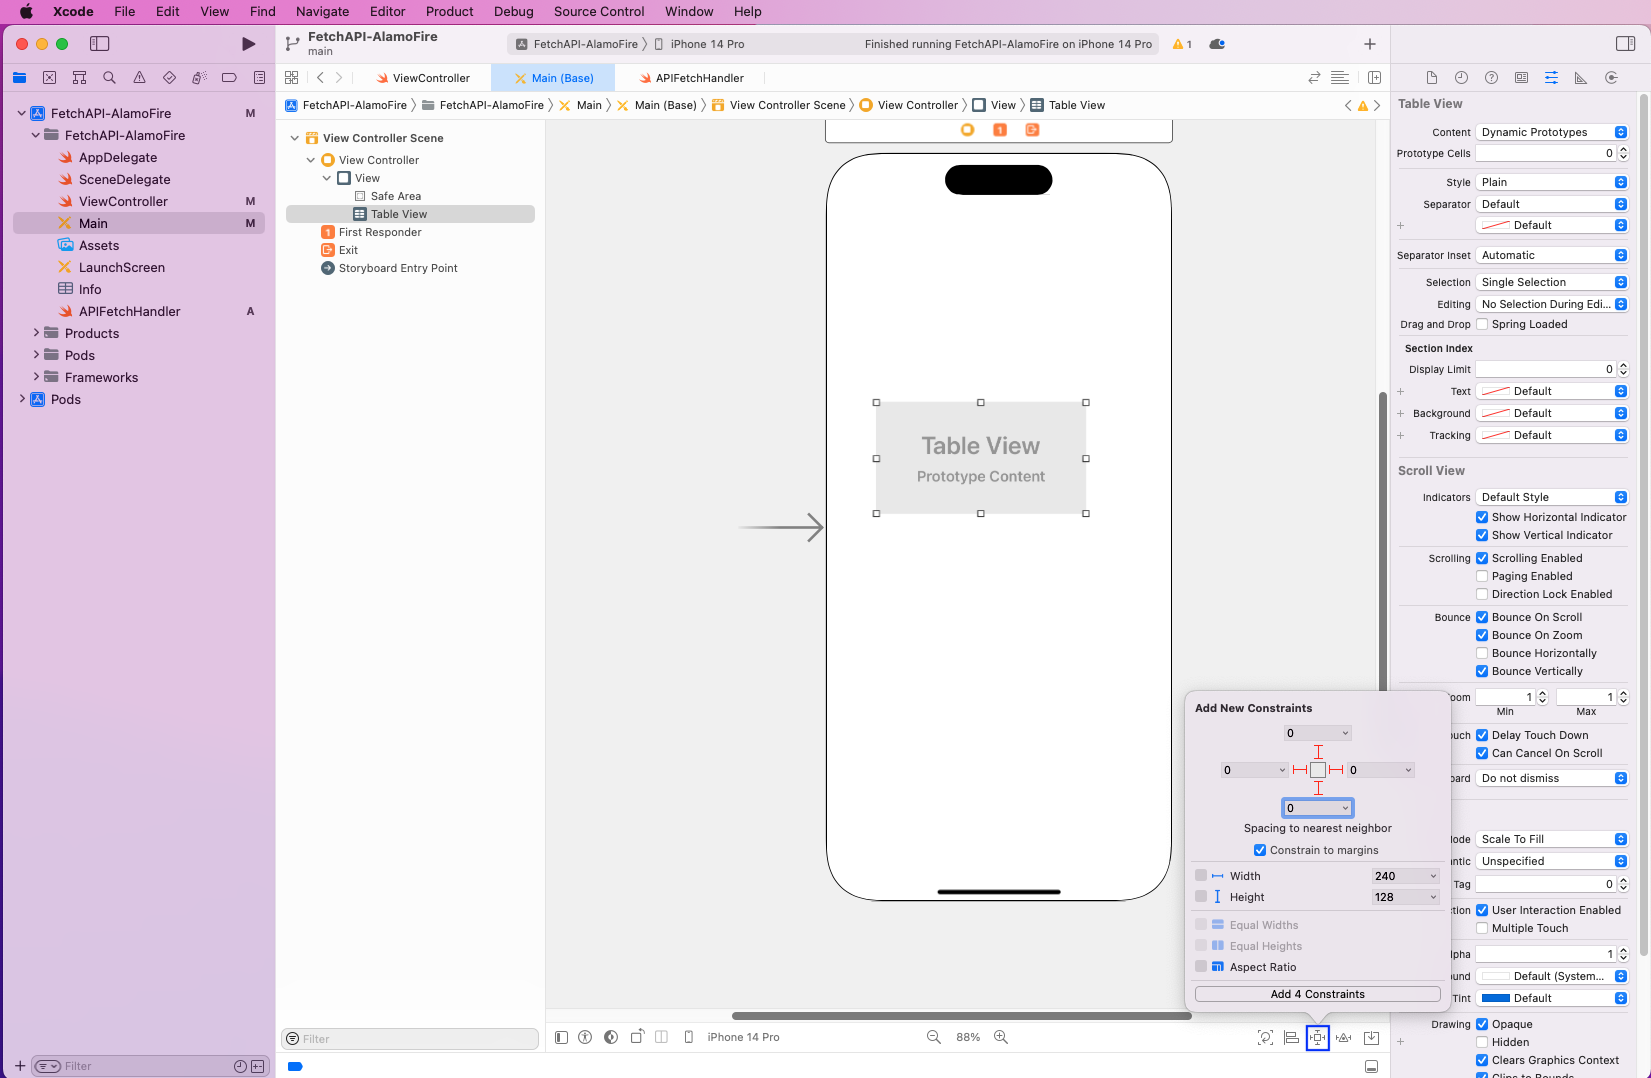
Now, we’ll expand the Table View by clicking on Add a New Constraint. Make everything 0, and then click on Add 4 Constraints.
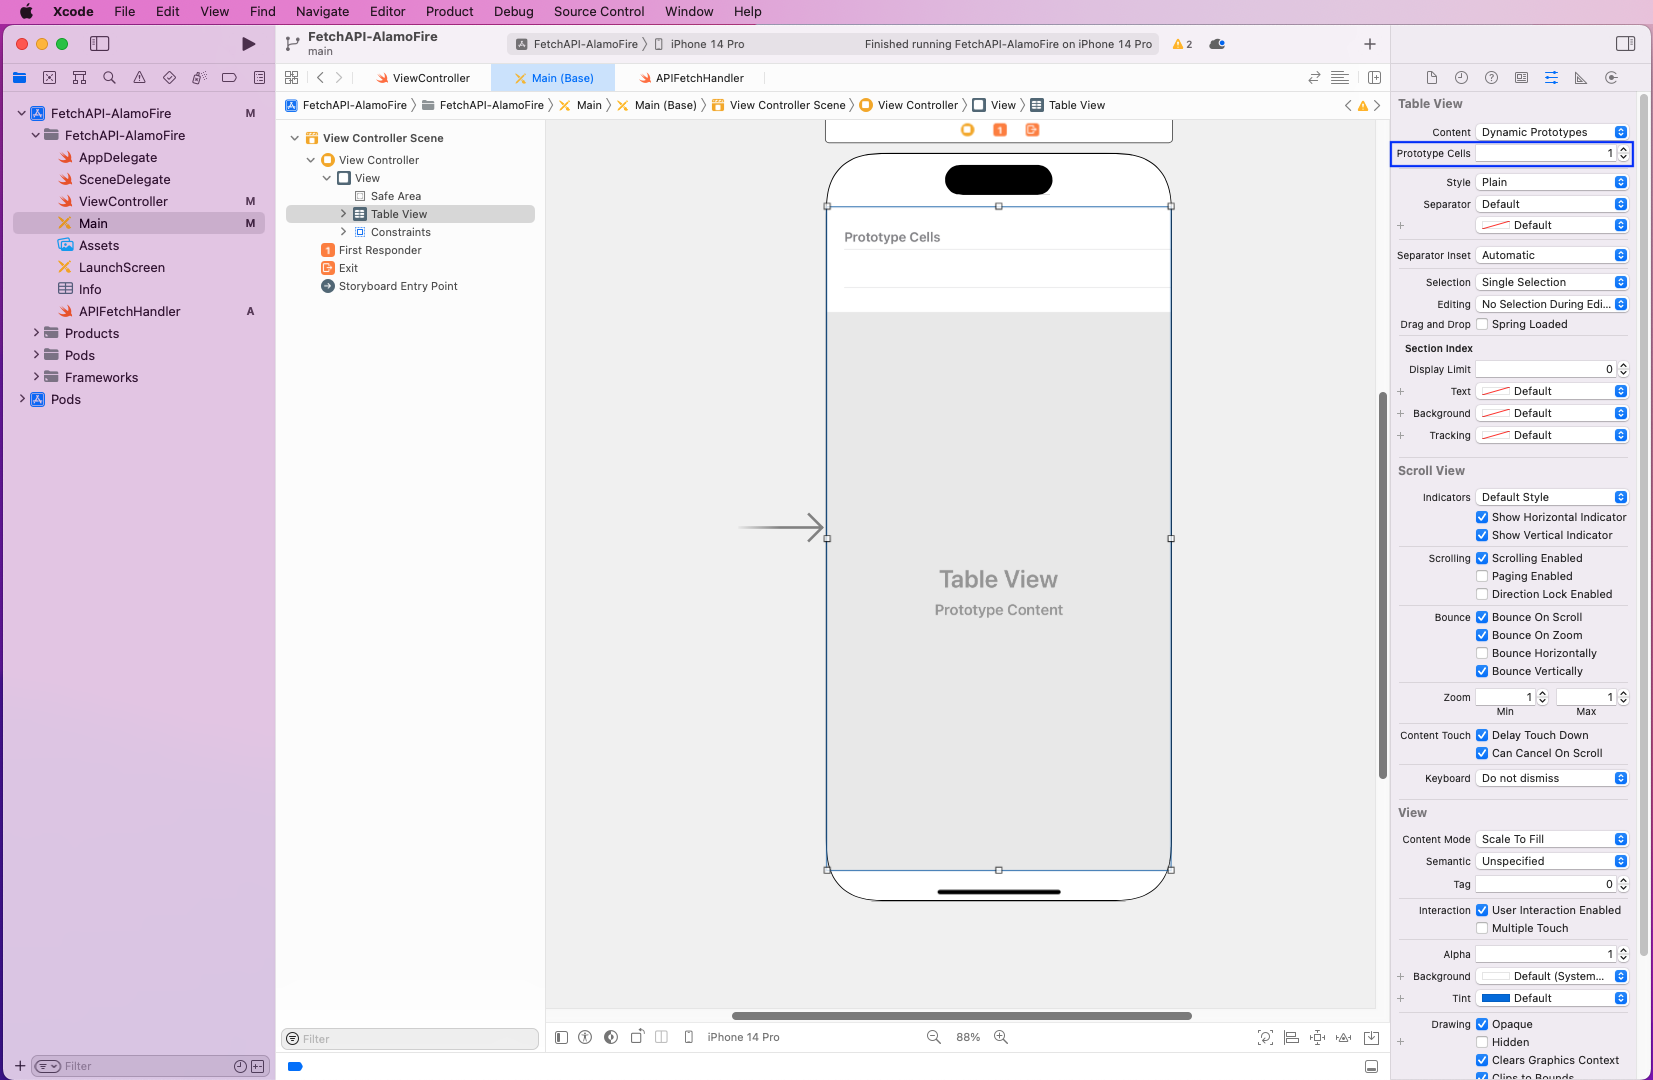
Once the Table View is expanded, click on the Prototype Cells and make it 1.
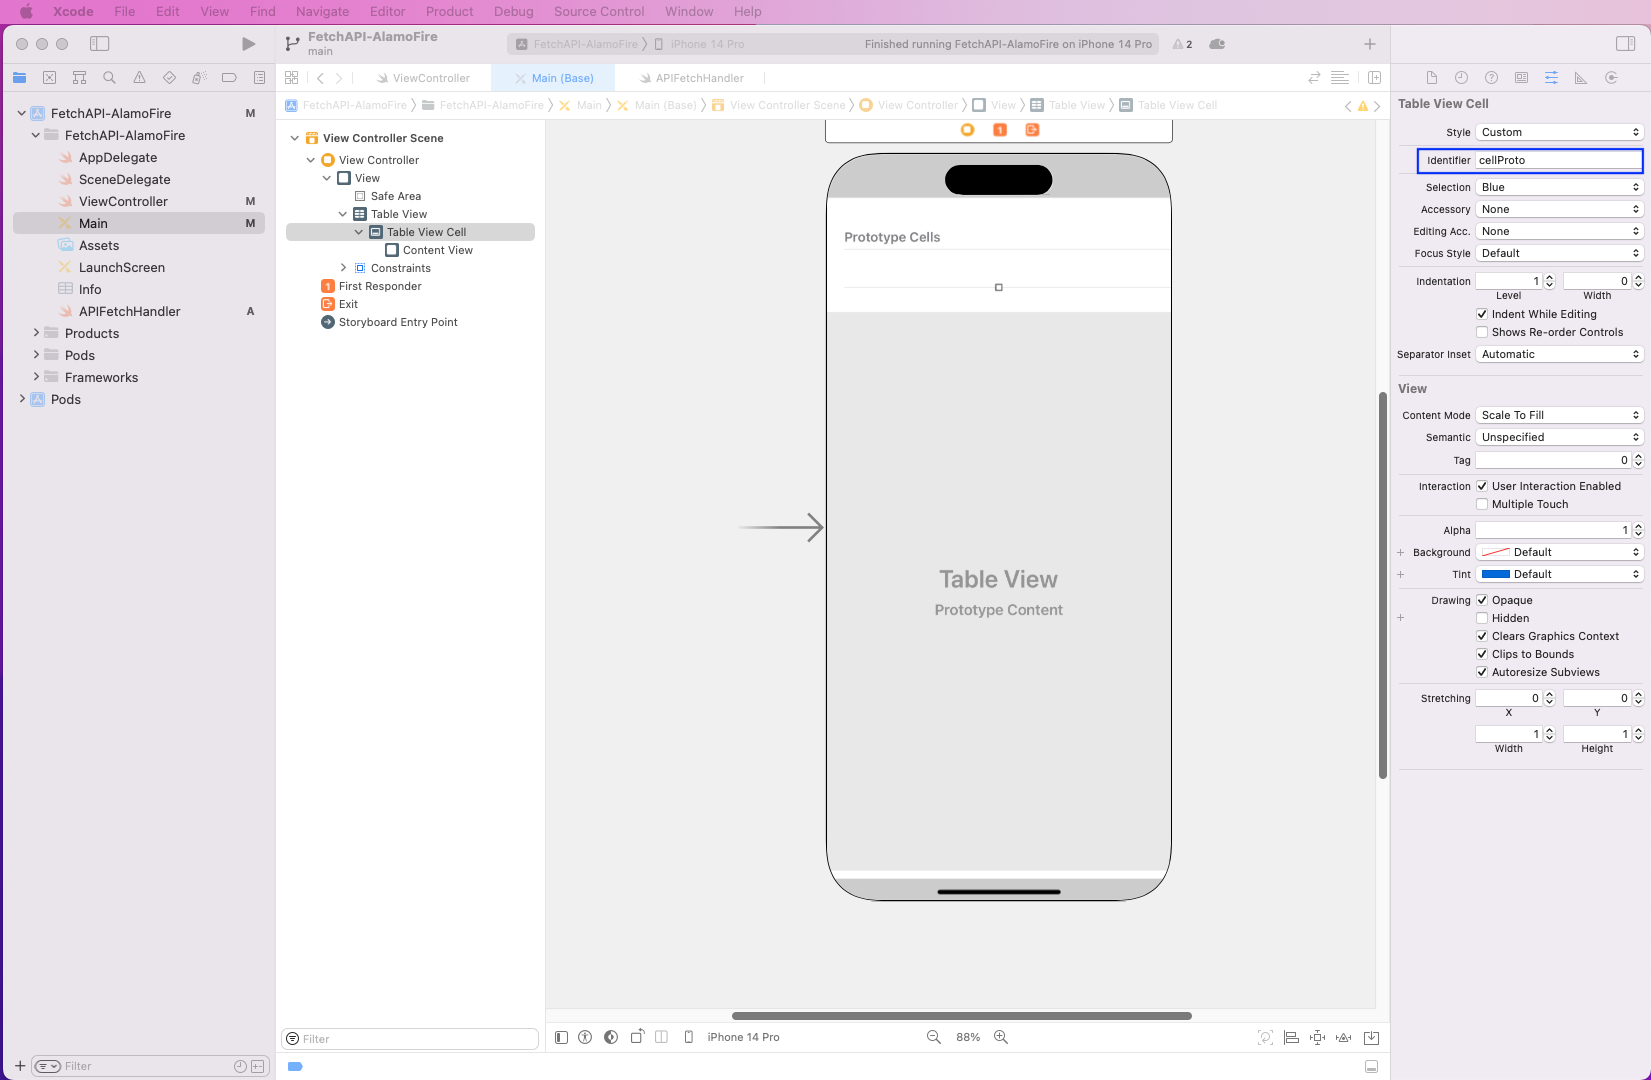
Next, click on the Prototype Cells and give the Identifier a unique name. We’ll give the same name as cellProto.
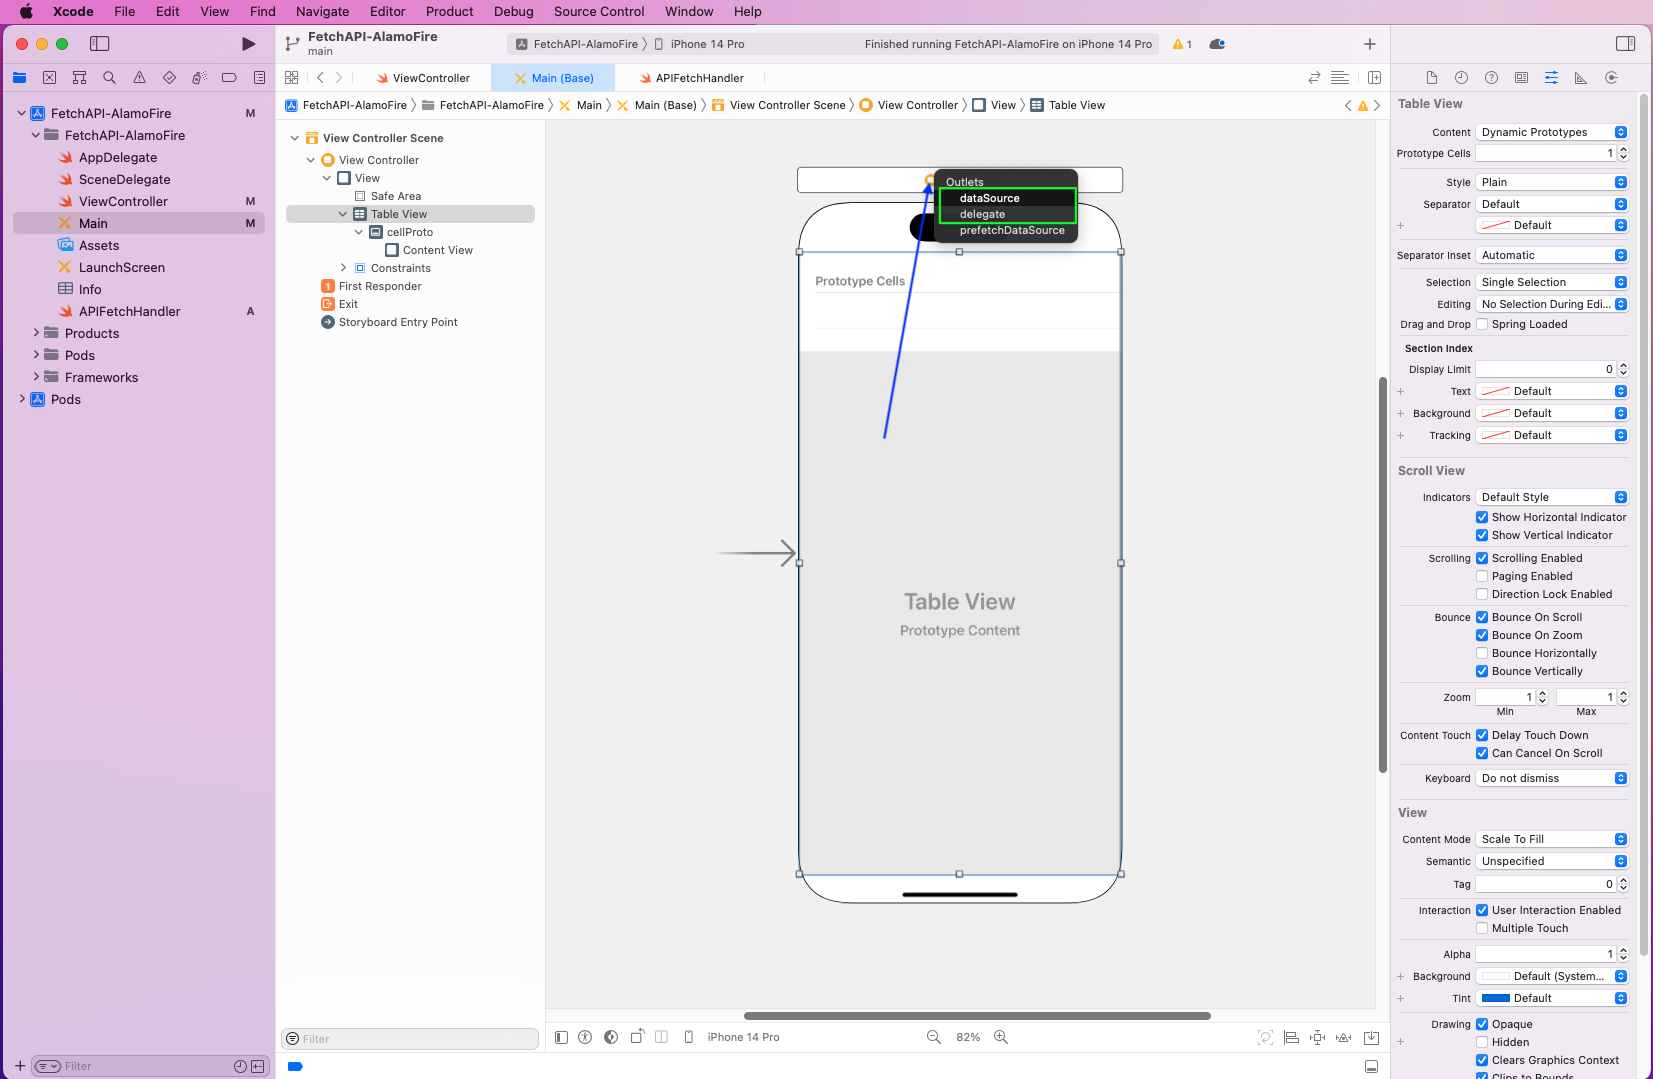
After that, press Ctrl and drag the Table View field to the ViewController. Here, select dataSource the first time.
Again, drag and select delegate this time.
We need to add outlets to our ViewController file before writing code. To do that, we’ve opened the ViewController file on another screen.
Press Ctrl and drag the Table View field to the ViewController file from the Main file.
This will open a pop-up that we’ve given the name apiDataView.
Back in the APIFetchHandler file, pass the parameter of a handler. Now, instead of printing jsonData, we’re calling it with the function handler.
Now, in the ViewController file, we’ve changed the call to fetchAPIData. Here, we’re storing the data in the apiResult variable. We’ve also created an extension of ViewController from the Delegate and DataSource added earlier.
Here, we’re using the identifier of cellProto and showing the title in it.
class ViewController: UIViewController {
    var apiResult = [Model]()
    @IBOutlet var apiDataView: UITableView!
    override func viewDidLoad() {
         super.viewDidLoad()
         APIFetchHandler.sharedInstance.fetchAPIData{ apiData in
           self.apiResult = apiData

           DispatchQueue.main.async {
             self.apiDataView.reloadData()
          }
       }
   }
}

extension ViewController: UITableViewDelegate, UITableViewDataSource {
    func tableView(_ tableView: UITableView, numberOfRowsInSection section: Int) -> Int {
       return apiResult.count
    }

   func tableView(_ tableView: UITableView, cellForRowAt indexPath: IndexPath) -> UITableViewCell {
      guard let cell = tableView.dequeueReusableCell(withIdentifier: "cellProto")
      else {
        return UITableViewCell()
     }
     cell.textLabel?.text = apiResult[indexPath.row].title
     return cell
  }
}
Now, upon re-running the app, we’ll see the titles from the API endpoint on display.

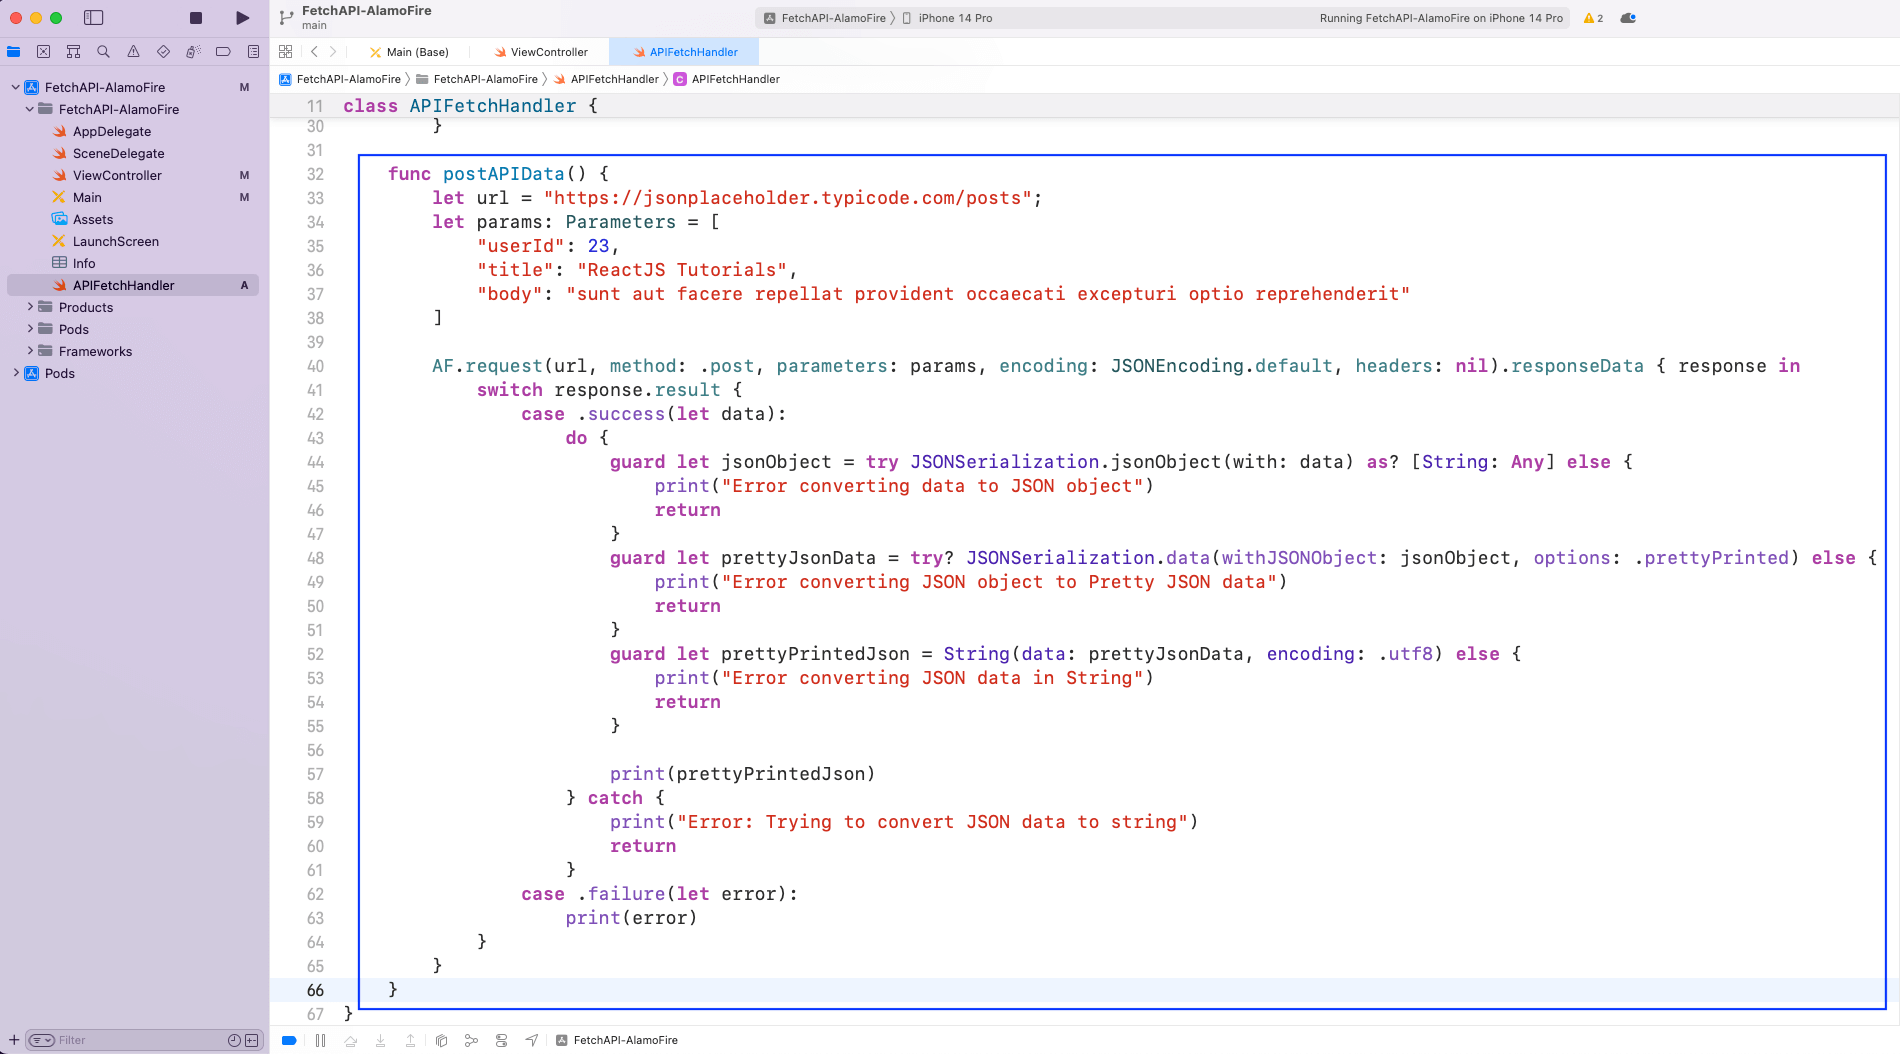
Now, let’s use a simple example to show the use of the POST method. When we do a POST call to an endpoint, we generally take data from the user through the input field. After that, we submit the data, which is stored in the database. But in our example, we’re hard-coding it in variable params.
We’ve created a new function called postAPIData() in the APIFetchHandler file. Here, we’re again using the AF.request method from Alamofire. The same type of switch case is used as in the earlier method of fetchAPIData().
Once the API request is done and we get the status back, well use various Swift methods to prettify the data. And we’ll finally print the data!
func postAPIData() {
     let url = "https://jsonplaceholder.typicode.com/posts";
     let params: Parameters = [
      "userId": 23,
      "title": "ReactJS Tutorials",
      "body": "sunt aut facere repellat provident occaecati excepturi optio reprehenderit"
    ]

    AF.request(url, method: .post, parameters: params, encoding: JSONEncoding.default, headers: nil).responseData { response in
        switch response.result {
          case .success(let data):
             do {
                guard let jsonObject = try JSONSerialization.jsonObject(with: data) as? [String: Any] else {
                  print("Error converting data to JSON object")
                  return
            }
            guard let prettyJsonData = try? JSONSerialization.data(withJSONObject: jsonObject, options: .prettyPrinted) else {
                print("Error converting JSON object to Pretty JSON data")
                return
           }
           guard let prettyPrintedJson = String(data: prettyJsonData, encoding: .utf8) else {
            print("Error converting JSON data in String")
            return
          }

          print(prettyPrintedJson)
         } catch {
              print("Error: Trying to convert JSON data to string")
              return
         }
      case .failure(let error):
        print(error)
     }
  }
}
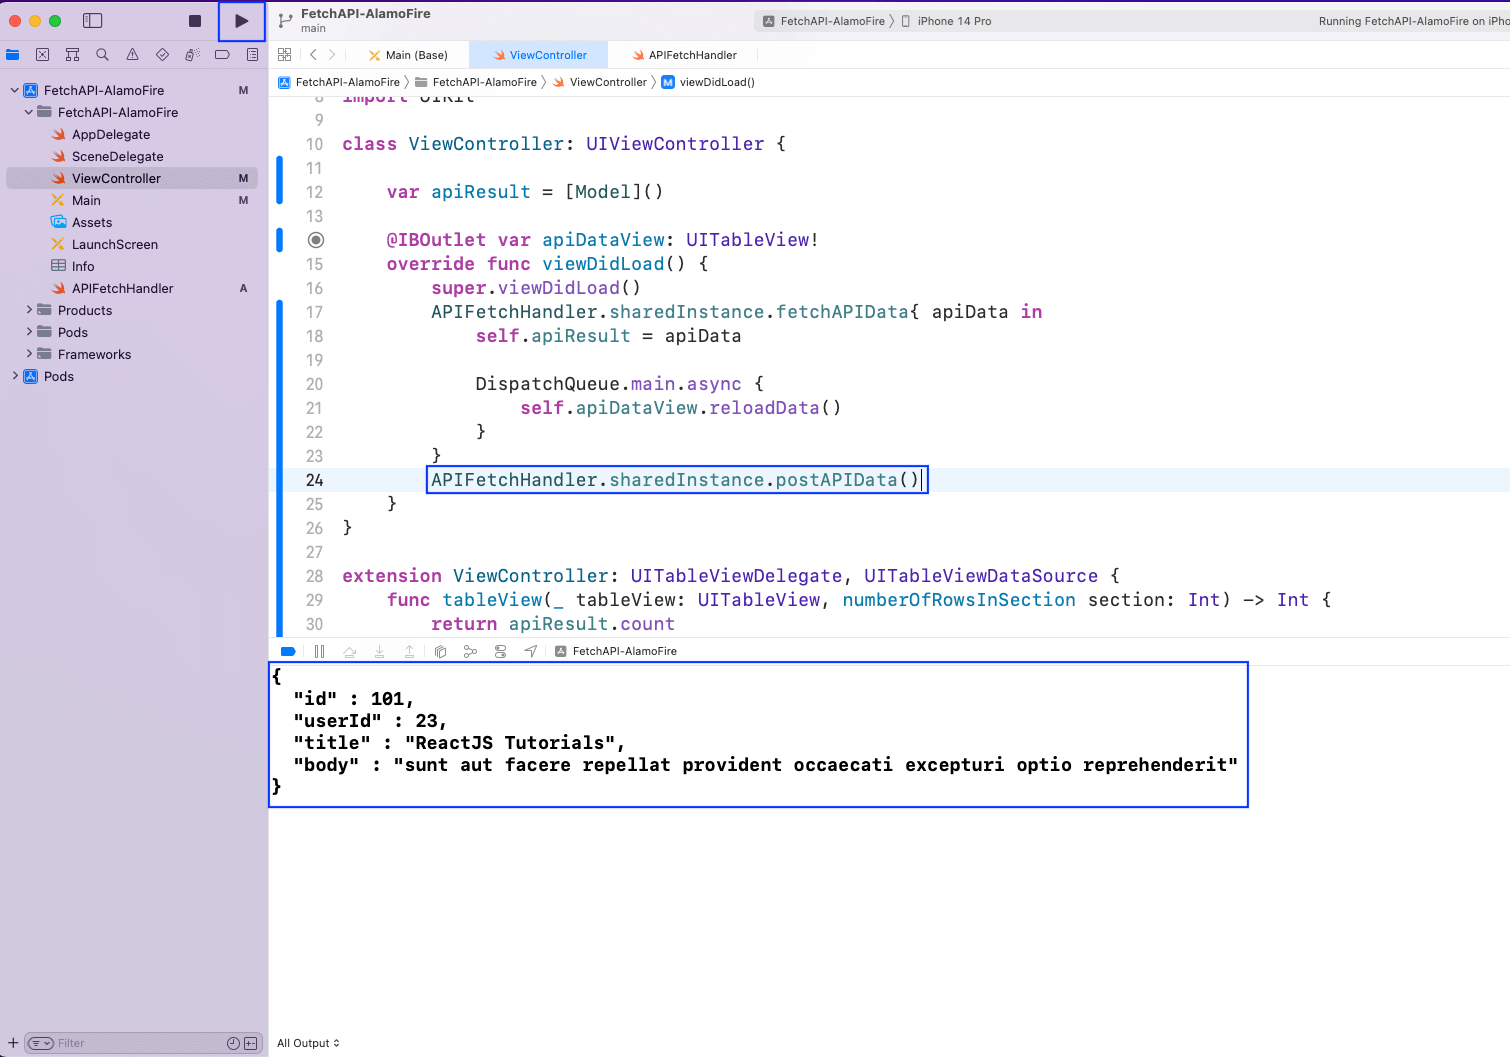
In this tutorial, we’ve also updated the ViewController file to call this new function postAPIData(). Now we’ve run the app and gotten the correct response from the JSON placeholder endpoint displayed in the console.
APIFetchHandler.sharedInstance.postAPIData()In this tutorial, we’ve also updated the ViewController file to call this new function postAPIData(). Now we’ve run the app and gotten the correct response from the JSON placeholder endpoint displayed in the console.
APIFetchHandler.sharedInstance.postAPIData()
What we’ve learned
In this tutorial, we explored how API calls work in iOS apps using Alamofire. We covered:
While implementing API calls is essential, testing API-driven workflows inside real mobile apps is often complex and time-consuming, especially when dealing with dynamic data and multiple device types.
This is where Tricentis Testim Mobile becomes a powerful companion to your development process. With its AI-driven test automation, Tricentis Testim Mobile enables teams to validate API-backed screens, data flows, and user interactions on real devices—without writing or maintaining fragile test code. Simply upload your IPA or APK, and the platform automatically generates and executes intelligent test cases, delivering actionable insights through detailed reports.