
Webinars
AI-powered, codeless test automation for SAP – advanced examples
See our SAP testing experts demonstrate the use of Tricentis...
Learn how to use React Native fonts across iOS and Android, then validate UI consistency faster with Tricentis Testim Mobile’s AI-powered testing for scalable mobile apps.

Fonts are very important in a mobile app. In React Native there are many built-in fonts. Most of them are the same in iOS and Android, but there are some differences.
In this post, we are going to talk about the built-in fonts first. Then, we will show you how to use custom fonts in both React Native CLI and an Expo project. Finally, we are going to discuss icon fonts in React Native.
For this, we will create two apps—one with React Native CLI and the other with Expo CLI. We are doing this because the process for using custom fonts is different in both.
Fonts are very important in a mobile app.
We are going to first use React Native CLI. We also need to run both the Android emulator and the iOS simulator.
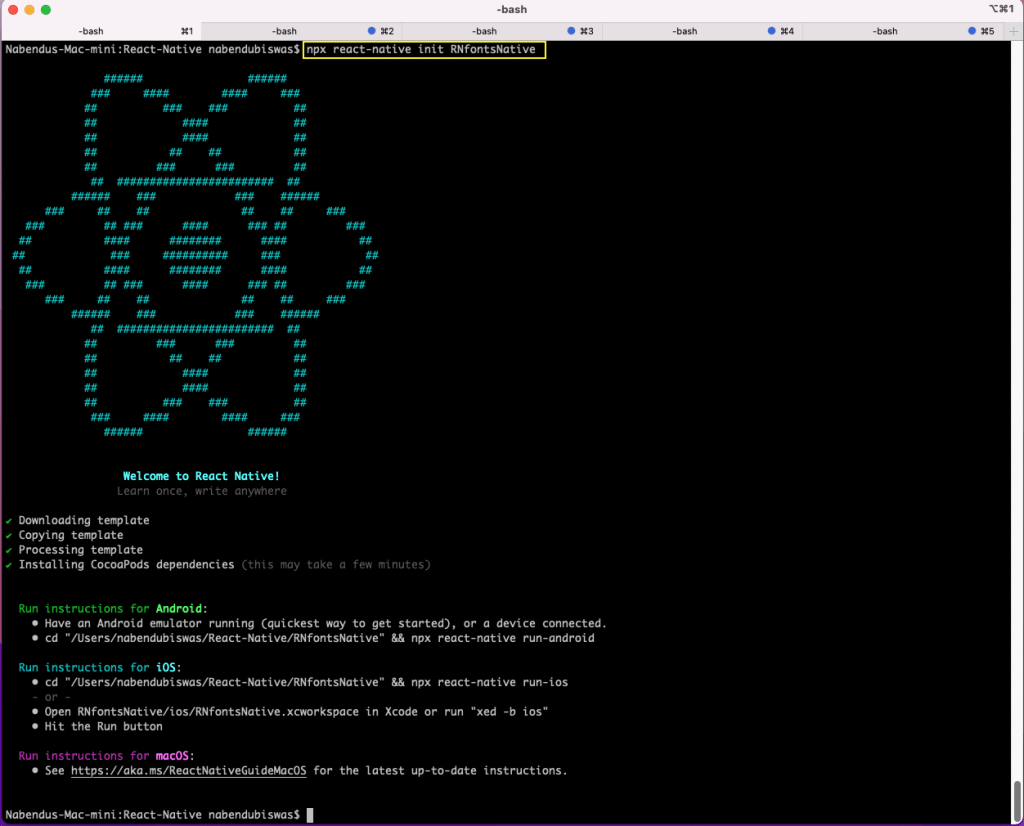
To create a new project, run the below command from the terminal:
npx react-native init RNfontsNativeAfter installation is done, we will see the below screen:
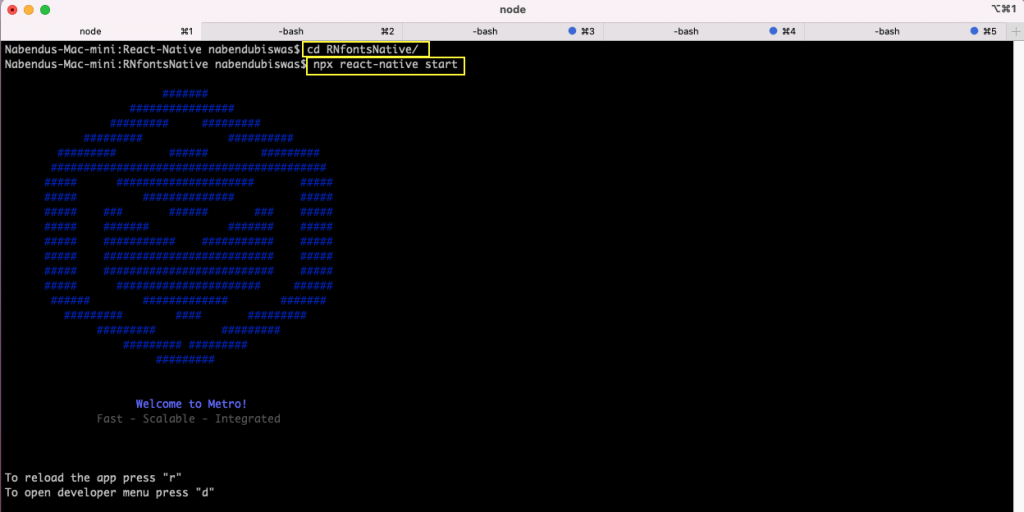
To start our project, run the command npx react-native start from the project directory.
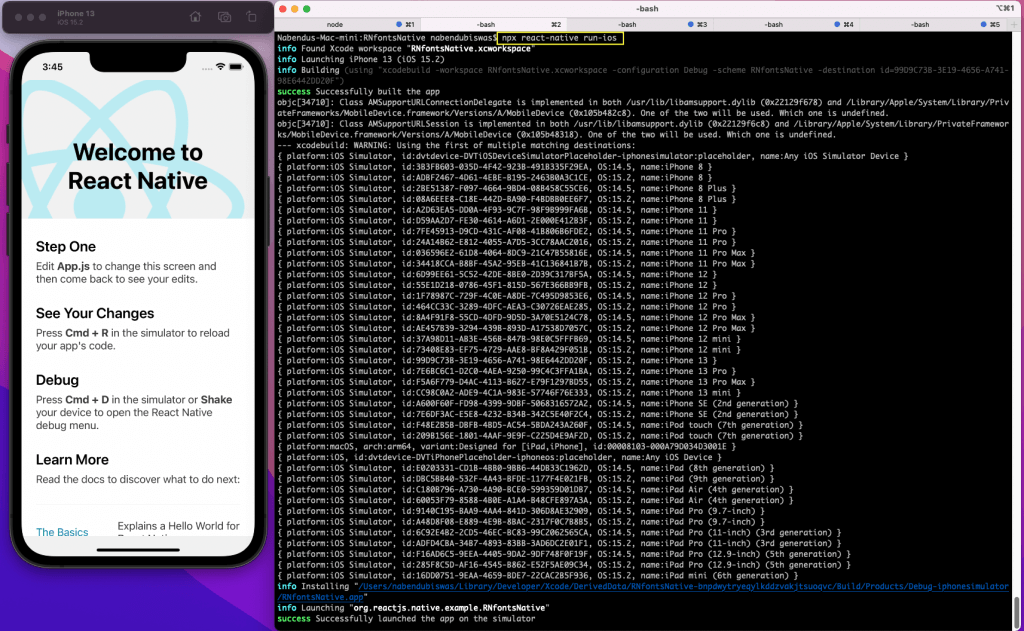
To start the project in the iOS simulator, run the command npx react-native run-ios.
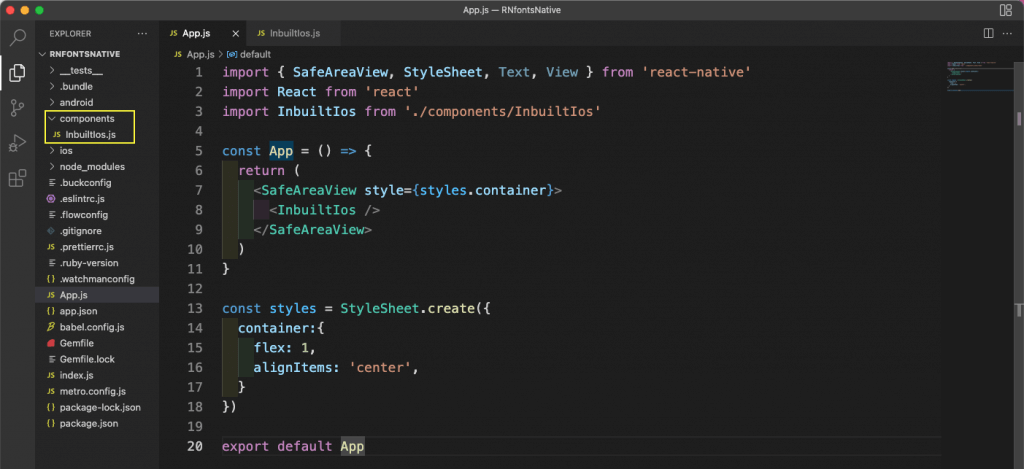
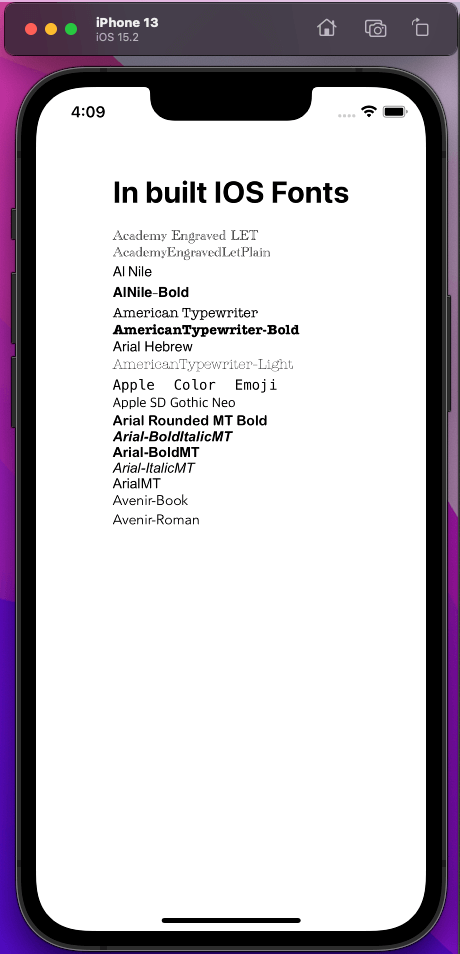
We will first look at the built-in iOS fonts. For this, create a folder called components in the root directory. Create a file InbuiltIos.js in it. Now we will first import it in an App.js file.
Next, in the InbuiltIos.js file, add the below content. In iOS, we have a lot of built-in fonts available. We are using only some of them here, but you can see the complete list of built-in fonts.
It will show like below in the iOS simulator.
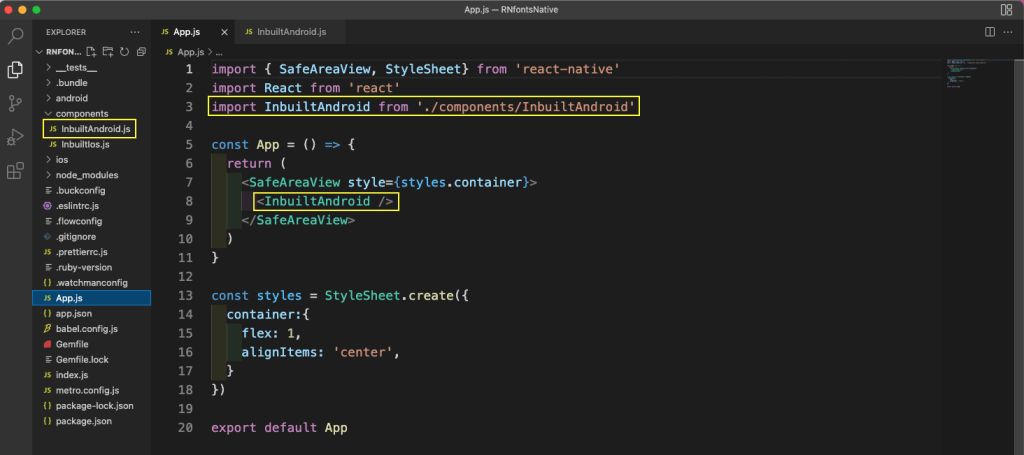
We have a lot fewer built-in Android fonts. To check them, first create a file called InbuiltAndroid.js in the components folder. Now import it in an App.js file.
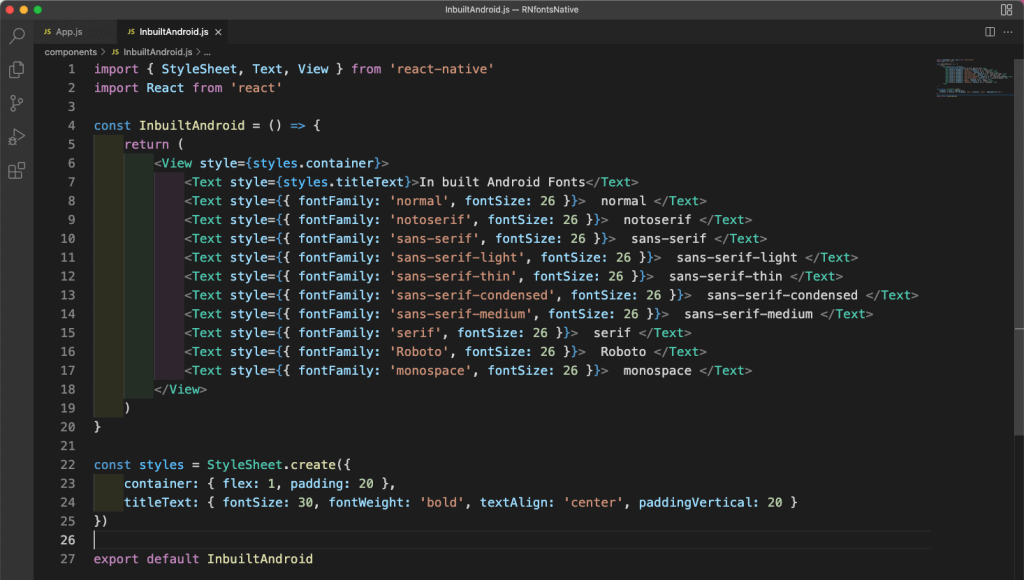
Next, in the InbuiltAndroid.js file, add the below content. The mentioned fonts are available in Android.
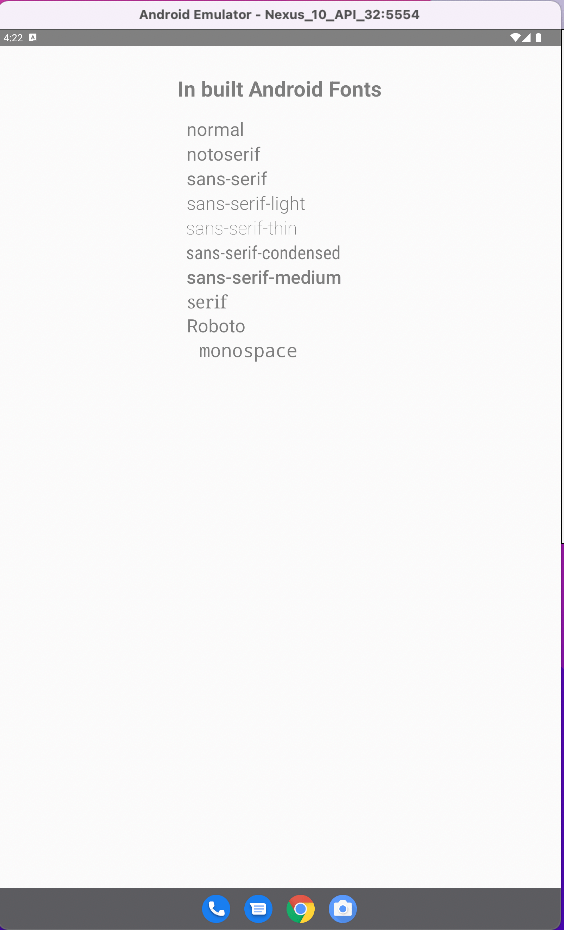
We will run this on the Android emulator. Here we need to give the command npx react-native run-android. It will look like below in the Android emulator.
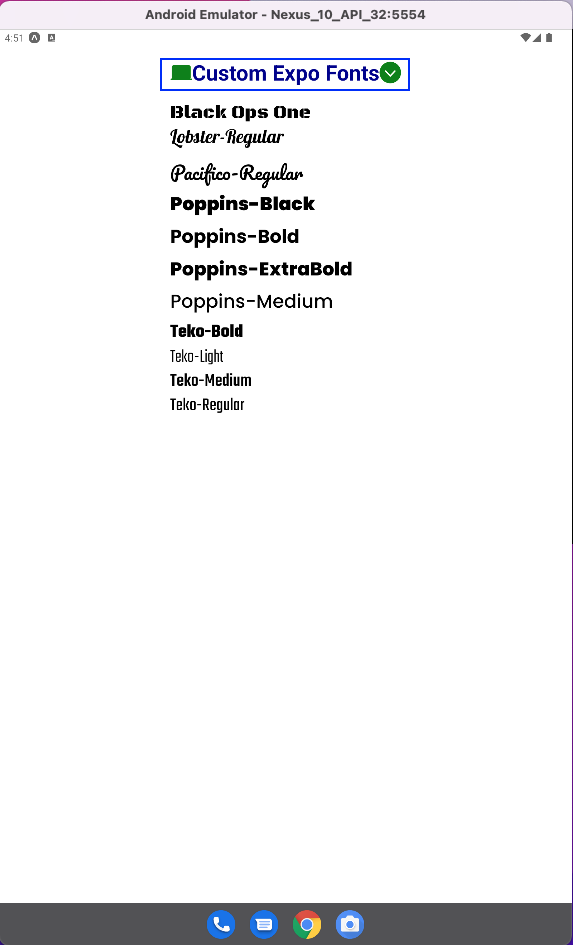
Custom android fonts
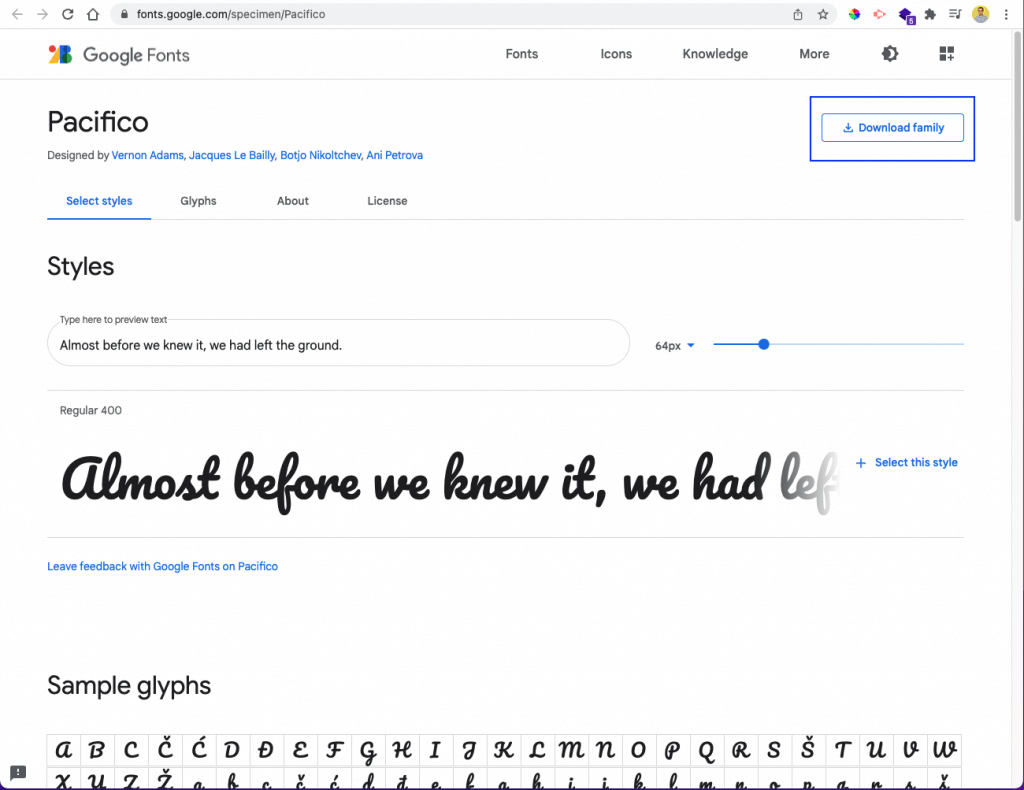
As we have seen, there are not as many fonts available in Android. We can easily use custom fonts like the ones from Google in an Android app. For this, we first need to download fonts from Google Fonts.
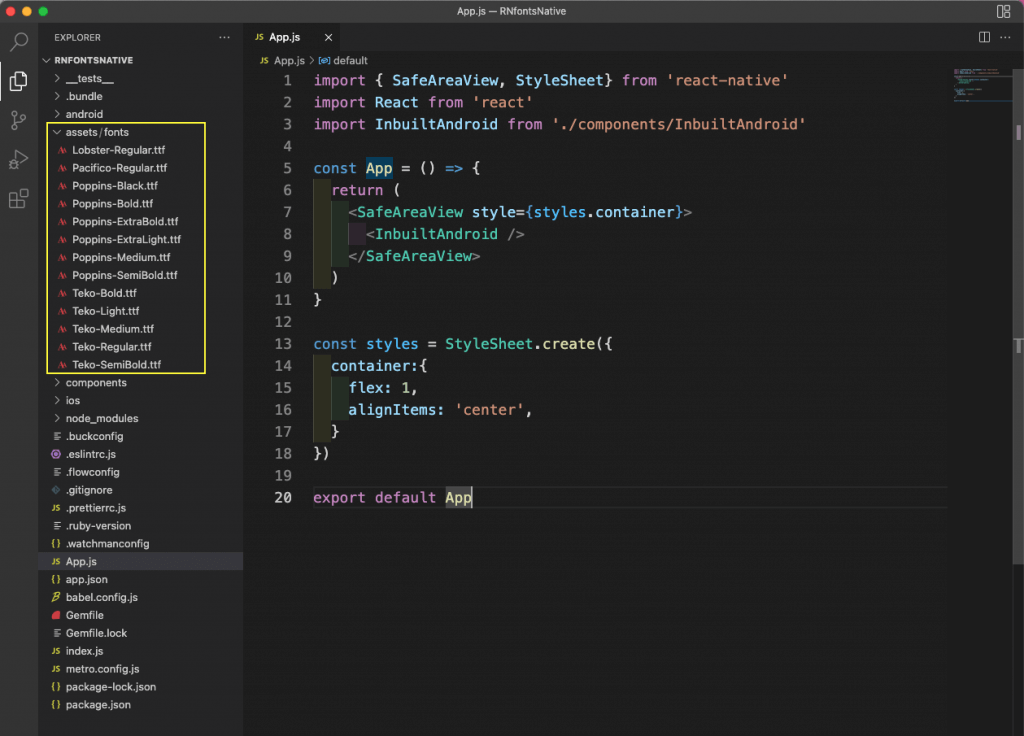
After downloading some fonts, we need to add them in our project. So, create an assets folder in the root directory. Inside it, create a fonts folder. Now add all the TTF files to it.
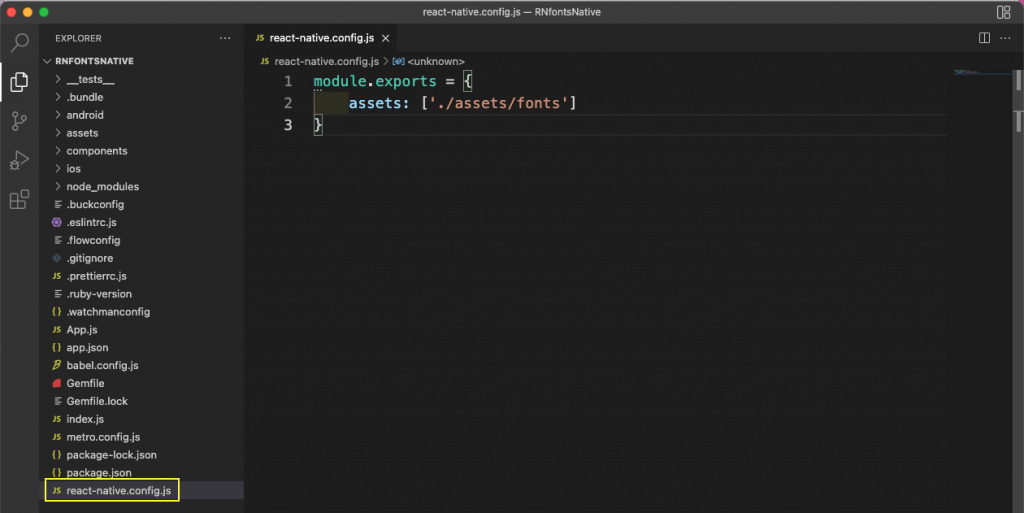
Next, for React Native to recognize this file, add a react-native.config.js file in the root directory. Here we are adding the location for the fonts folder.
Now run the command npx react-native link from the terminal to add these fonts.

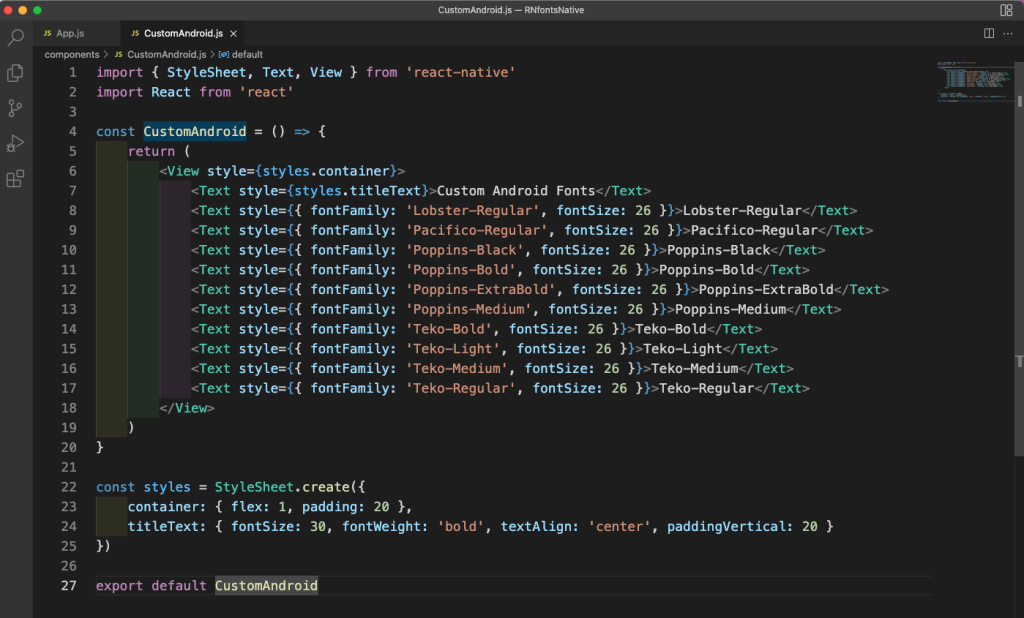
Next, create a file CustomAndroid.js inside the components folder. We need to import it into the App.js file.
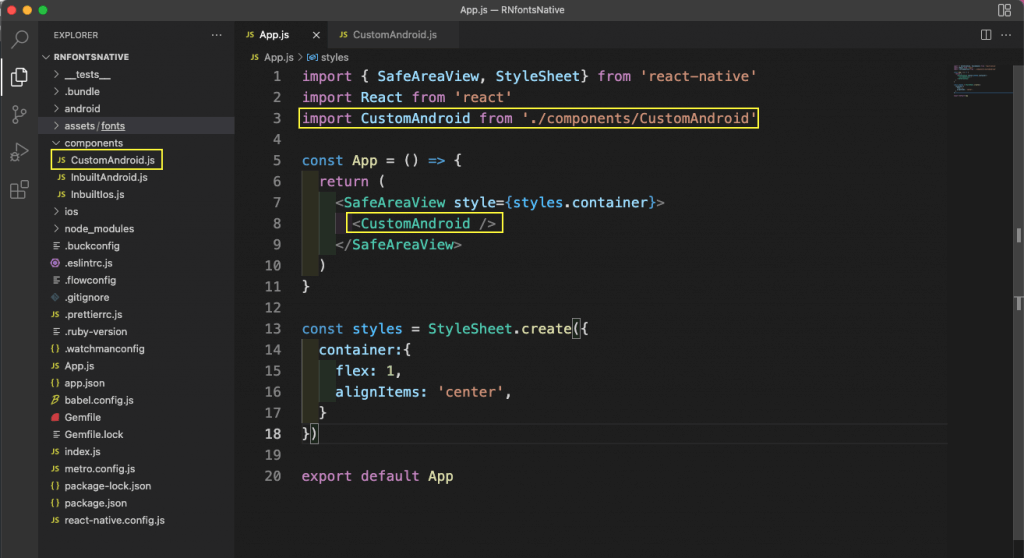
In the CustomAndroid.js file, add the below content. Notice that we have to use the exact name as the downloaded TTF file.
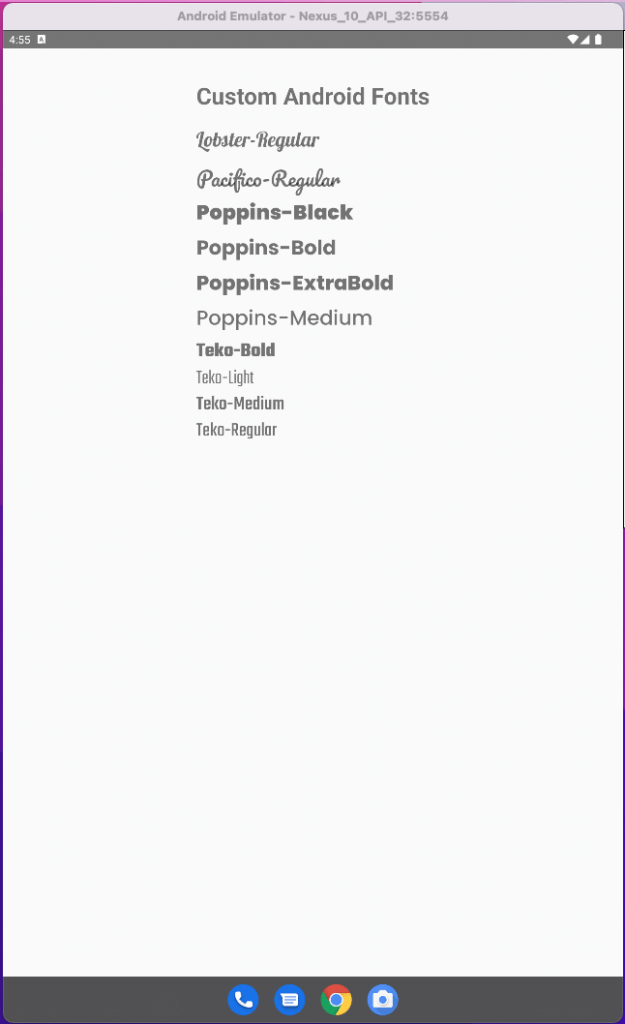
So, we will now see these nice fonts in the Android emulator.
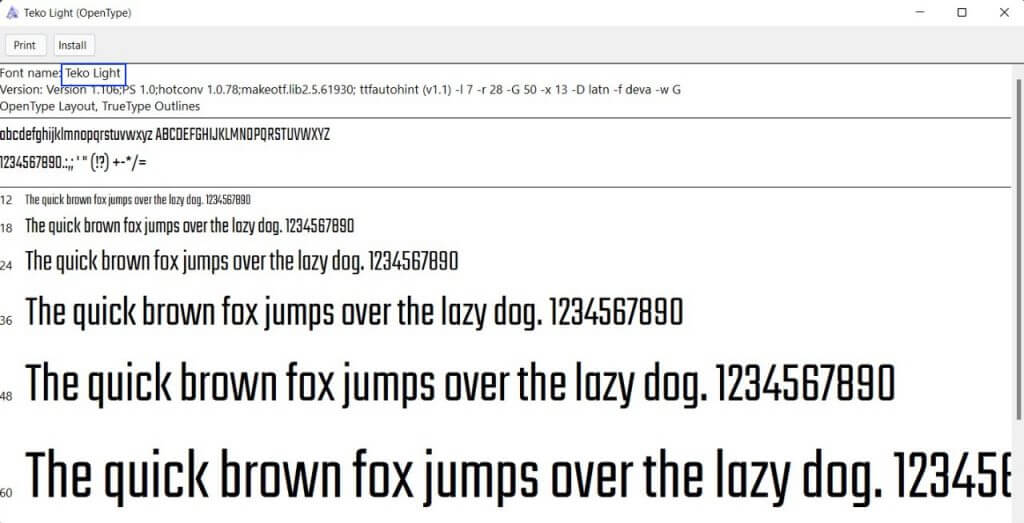
We can use the downloaded Google fonts in iOS also. But we need to give the font names from the document and not the file names. To get the font names, just open each TTF file.
Next, create a file called CustomIos.js inside the components folder. We need to import it into the App.js file.
After that, in the CustomIos.js file, add the below content. Notice that here we have all the exact names, which we got by opening the downloaded TTF files.
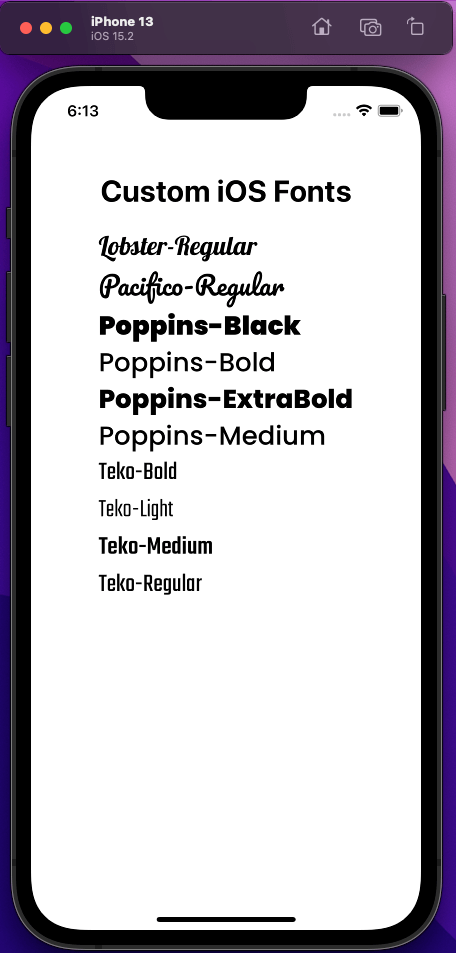
We will now see these nice fonts in the iOS simulator.
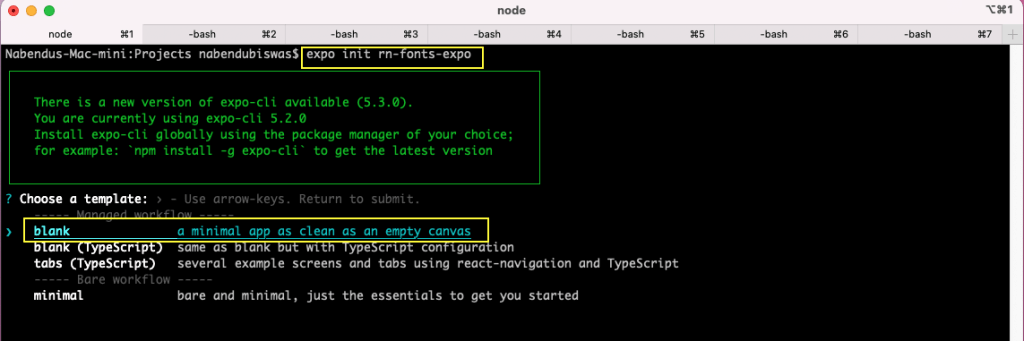
There is a different way to use custom fonts in an Expo project. So, create a new project with the name rn-fonts-expo using the following command:
expo init rn-fonts-expoWe will be asked to choose a template. For this, we’re going to choose a blank one.
Now change to the directory and run the npm start command.
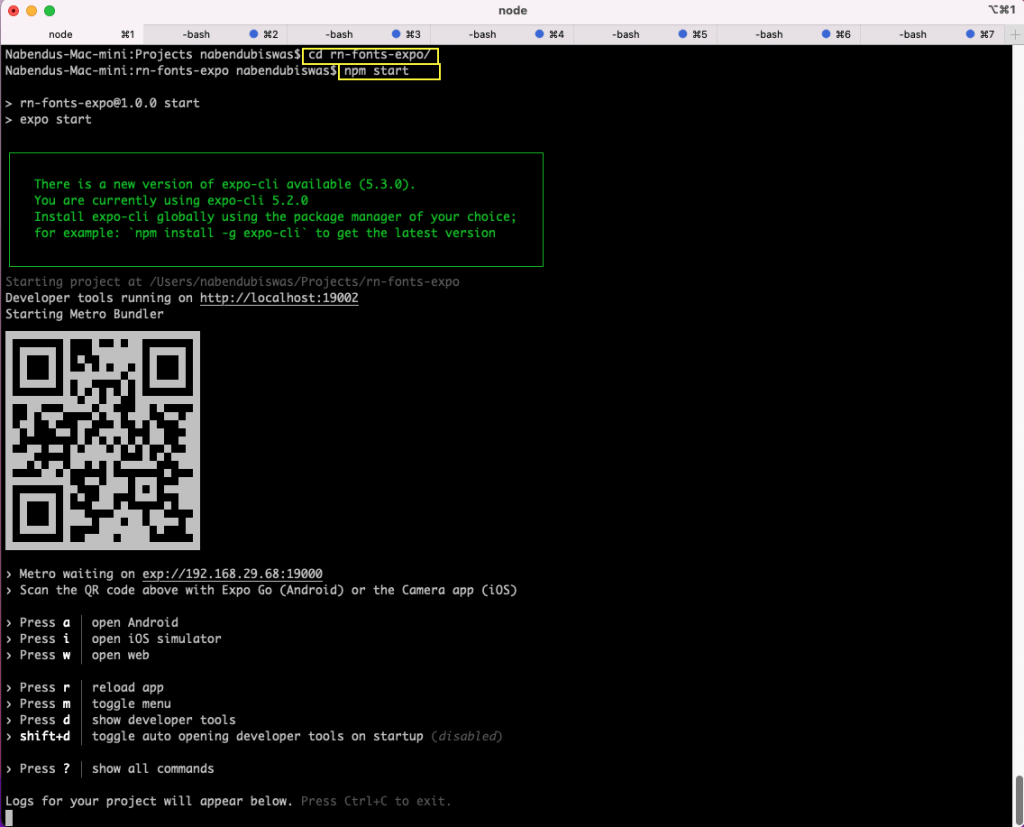
Now, press a to open the project in the Android emulator.
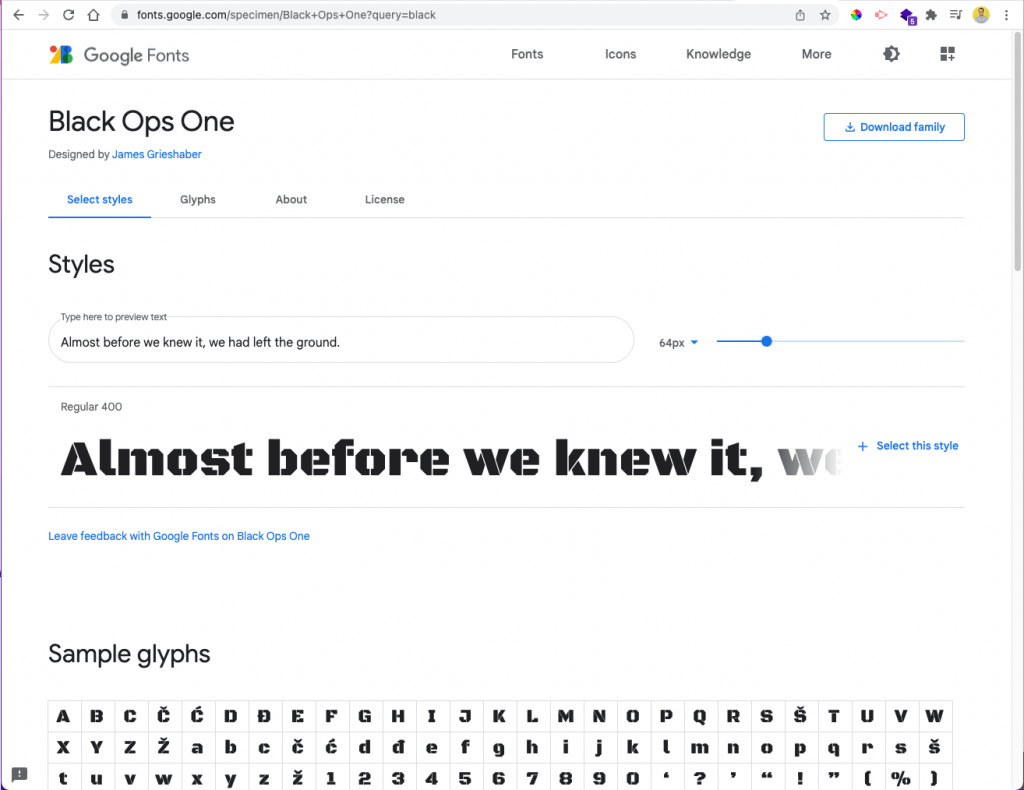
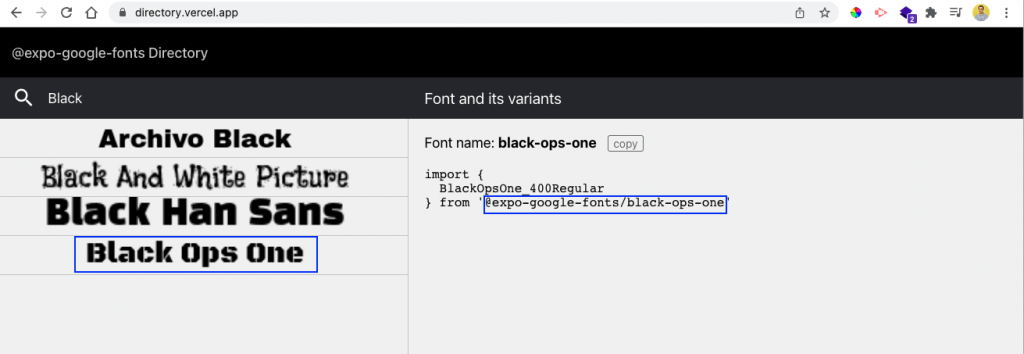
Next, to get the exact font name, we need to go to this Google fonts directory. We have searched for Black Ops One to get the import command.
Now give the below command from the project directory:
expo install @expo-google-fonts/black-ops-oneWe also need to install the expo-app-loading package. So, install it in the same project directory.
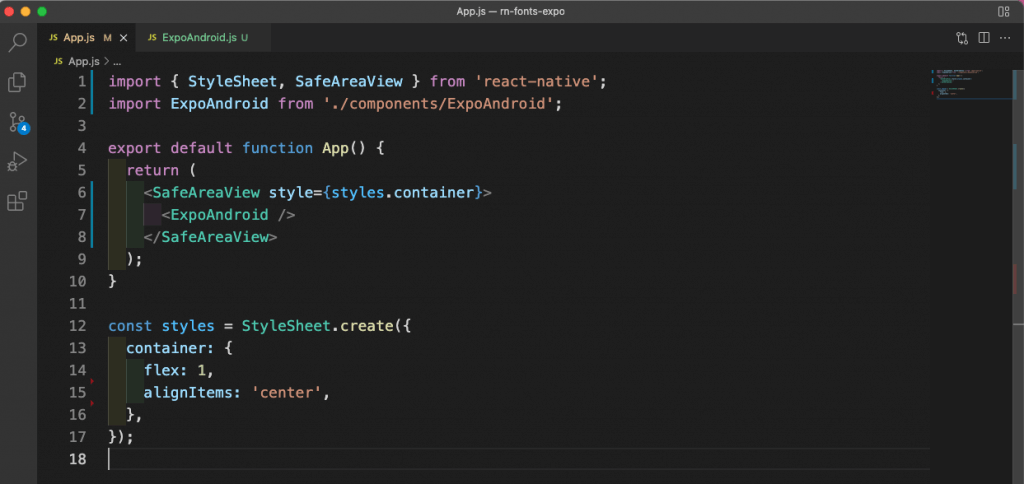
expo install expo-app-loadingNext, in the App.js file, remove all earlier content. Here we are importing and displaying a component of ExpoAndroid.
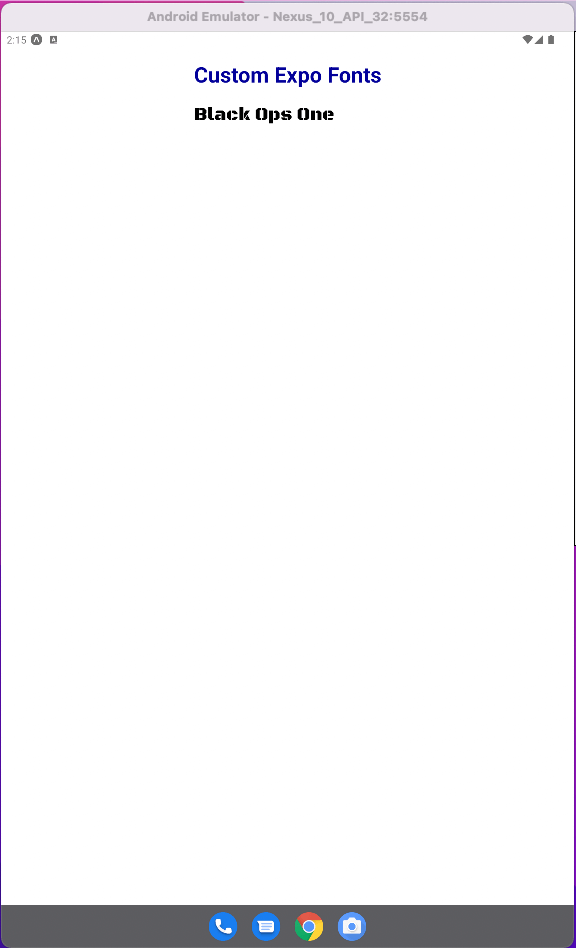
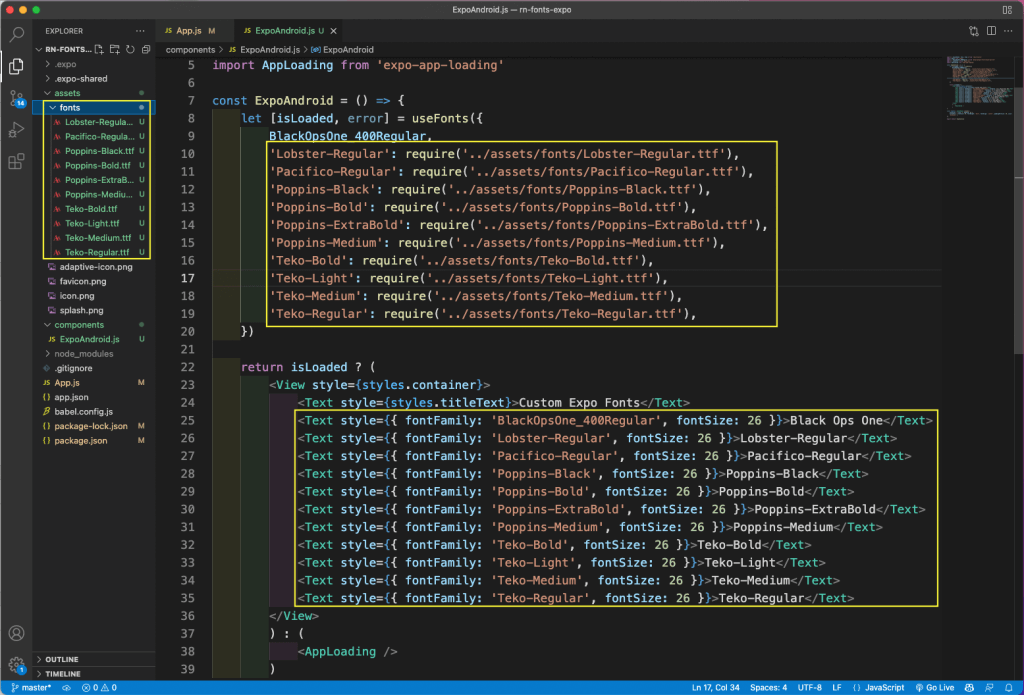
We will now create a file named ExpoAndroid.js inside a components folder in the root directory. Inside it, we are first importing the Black Ops One font using the import statement we got from the directory.
After that, we are using the useFonts hook from Expo and also AppLoading from expo-app-loading. Next, inside the app, we’ll use the useFonts hook to show our font. In the return statement, we are checking if the isLoaded is true, then use our font. Or if the isLoaded is false, we will show the AppLoading component.

Now the Black Ops One font is shown perfectly in our Android emulator.
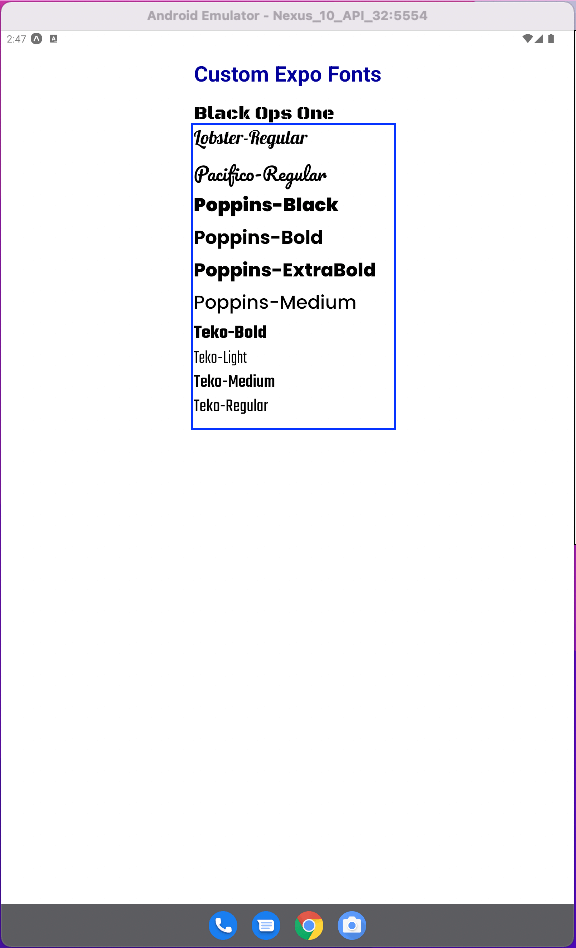
We can also use the font files in Expo, as we used earlier in the React Native CLI project. First, we will create a font folder inside the assets folder. Inside we will put some font files, which we downloaded earlier from Google Fonts.
Inside the useFonts hook in the ExpoAndroid.js file, we have to give the name and the exact path of the fonts. After that, inside our return statement, we can use these fonts.
Now we will see all these new fonts in our Android emulator.

We can easily use icon fonts in Expo, as they’re built-in in Expo. We can get different icons from this directory. In the ExpoAndroid.js file, first import Ionicons and AntDesign. After that, inside our Text, we are using two icons from these icon families.
![]()
Now the icons are shown perfectly in the Android emulator.
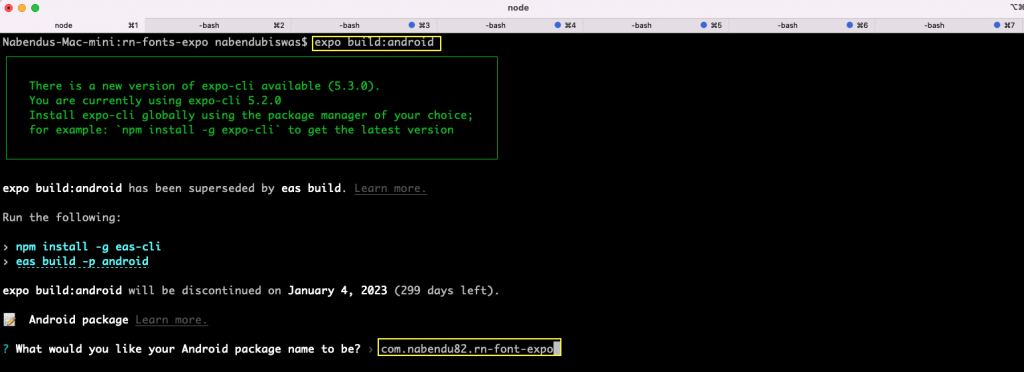
The APK or IPA file is required for testing, which we’ll cover in this section. To create an APK file with Expo, we’ll follow the instructions in the official docs.
From the folder containing the project, run the below command:
expo build:androidNow we need to give the Android package a name.
If we are using Expo for the first time, it will ask us to authenticate. We need to enter our credentials.

On the next screen, keep the default option of “APK” and press Enter.

Next, select the default option to generate a new keystore.

The APK build process will start, which will take around 10 minutes to finish. We’ll get a link to our build once the process is finished.

Just copy the link, open it in a browser, and save it.
To validate font rendering, layout behavior, and user interactions, we’ll use Tricentis Testim Mobile, a codeless mobile test automation platform designed for modern development teams.
Upload the APK file to Tricentis Testim Mobile and interact with the app as a real user—scrolling screens, validating typography, and navigating flows. Tricentis Testim Mobile automatically generates resilient tests powered by AI, helping teams catch UI issues without writing brittle scripts.
This approach is especially valuable for font-heavy apps, where visual regressions can easily slip through manual testing.
In this post, we explored multiple ways to work with fonts in React Native:
As React Native apps scale, ensuring visual consistency across devices becomes increasingly important. Tricentis Testim Mobile complements this workflow by enabling teams to validate UI behavior—including typography—across real devices and OS versions, without the overhead of maintaining complex test code.
If you’re migrating from Waldo or looking for a more scalable, AI-powered mobile testing solution, Tricentis Testim Mobile provides a natural next step.